Welcome to your Optii tutorial video to get started with the Schedule function in Optii. We trust that you are enjoying your experience and that we are helping you to achieve more with less.
This Optii tutorial will show you how to get started with the ‘Schedule’ function. We’ll walk you through all the steps you need to follow so that you can begin scheduling your colleagues right here with your Optii system. You’ll learn how to:
- Add your colleagues to the schedule
- Add the roster start and end time for each of your colleagues
- Bulk create roster hours or bulk delete rosters
- Publish your schedule, and
- Copy and print your schedule
We've designed it to be easy to follow, so you can create your profile quickly and without hassle. Click on the video below to discover how!
Who is this for?
- Hotel Managers
- Head of Departments
- Optii Champion
Lesson Details:
1 Video
6 minutes
Managing your team's schedule has never been easier with Optii. With so much to take care of during your daily ops, let Optii take the work out for you!
Create your weekly schedule
Follow these simple steps to create your schedule.
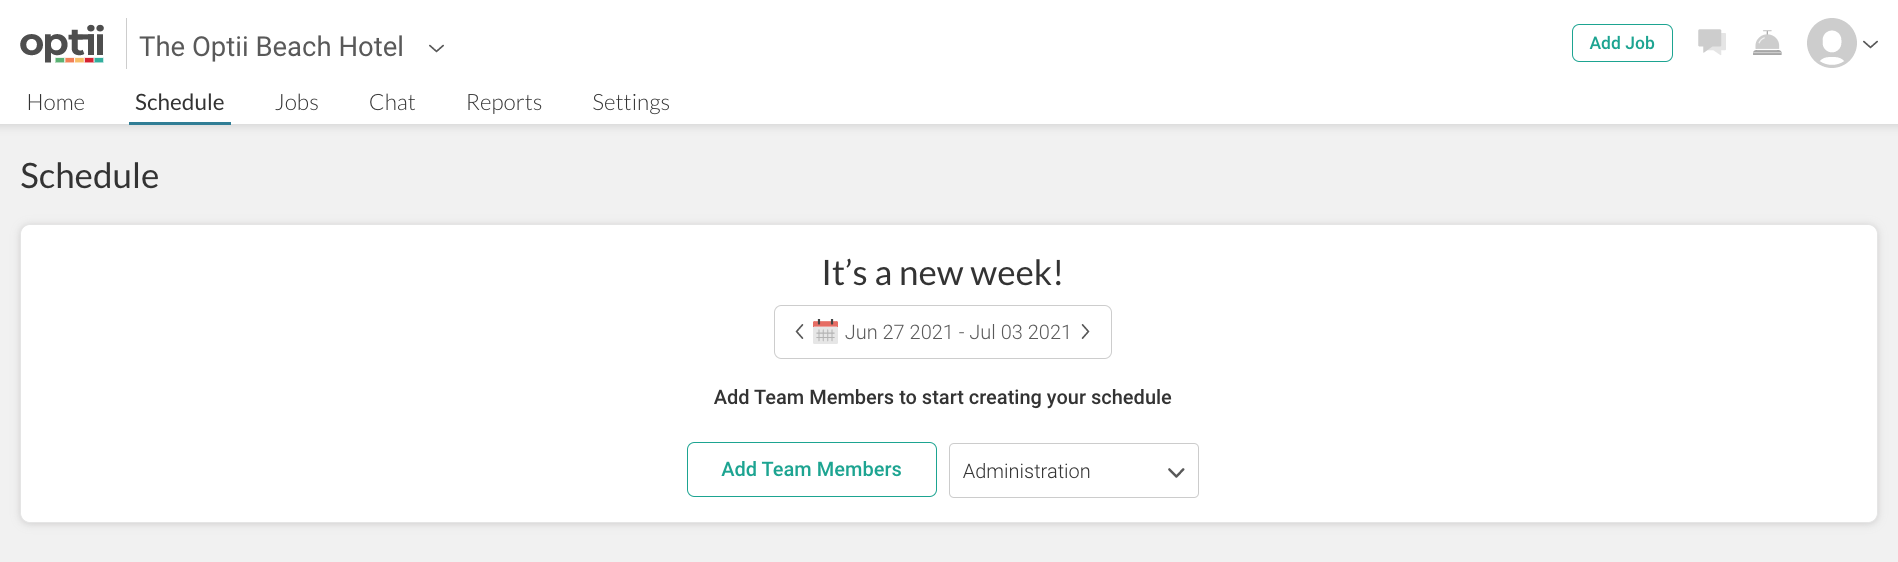
- Log Into Optii and Click on the Schedule tab. You'll see the message "It's a new week!"
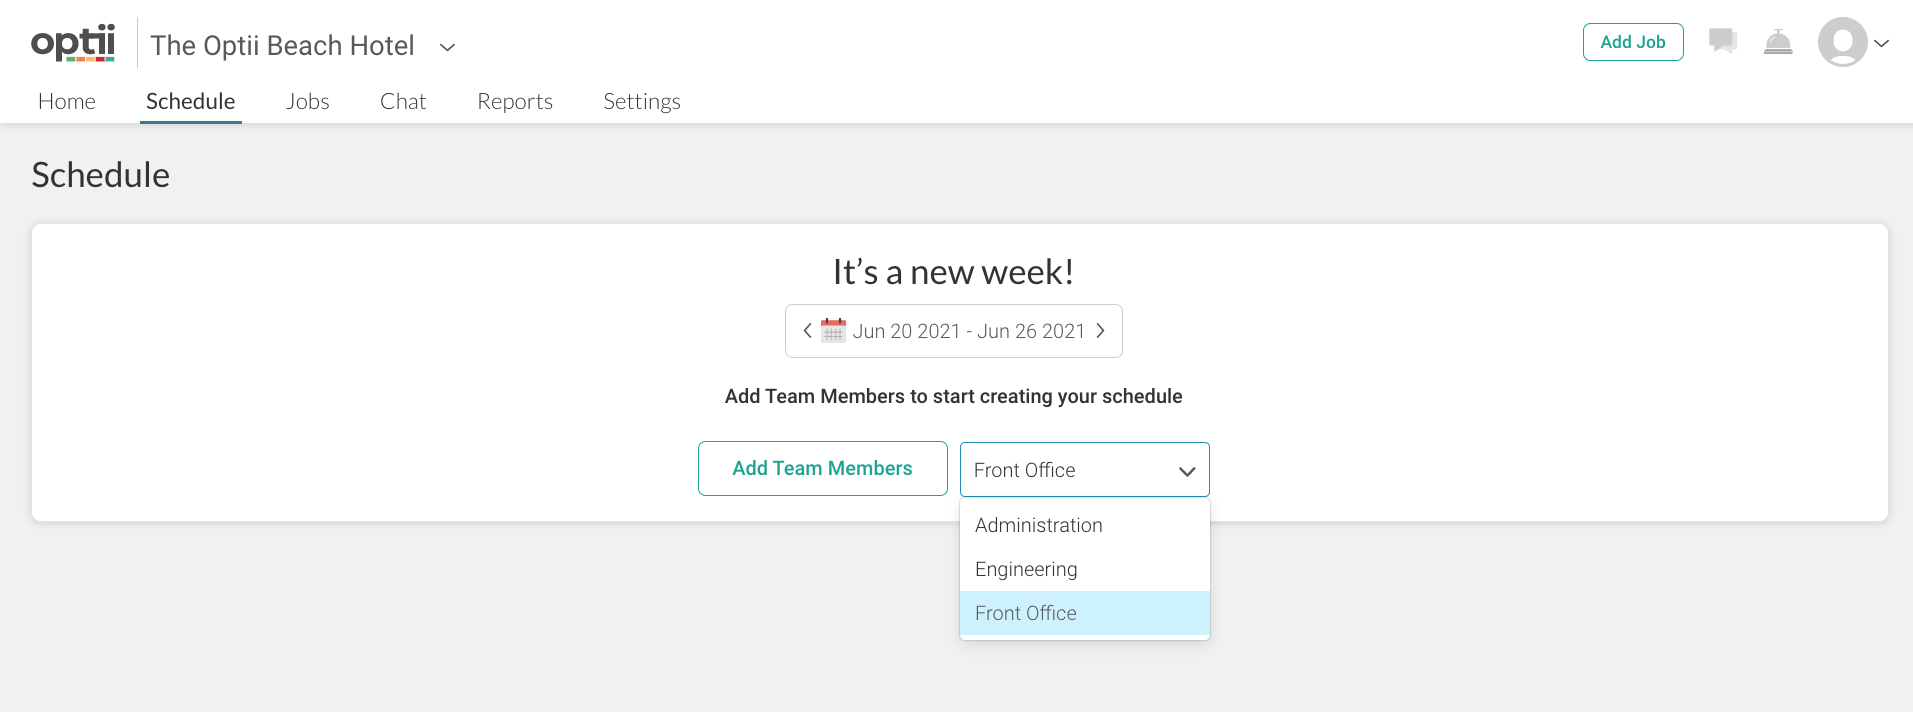
- Confirm that the dates showing in the calendar box are the correct week, or use the > arrow to toggle to the following week.
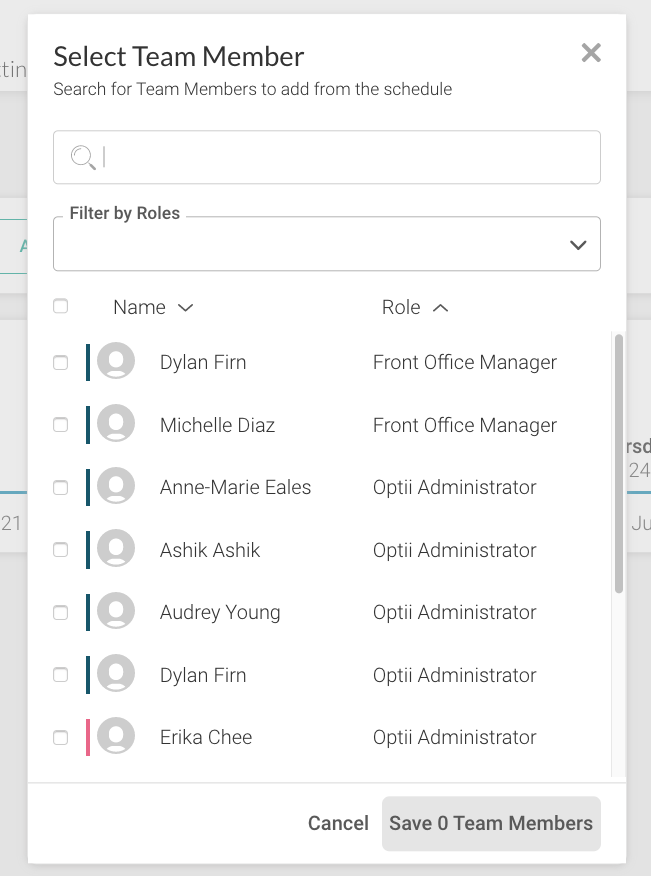
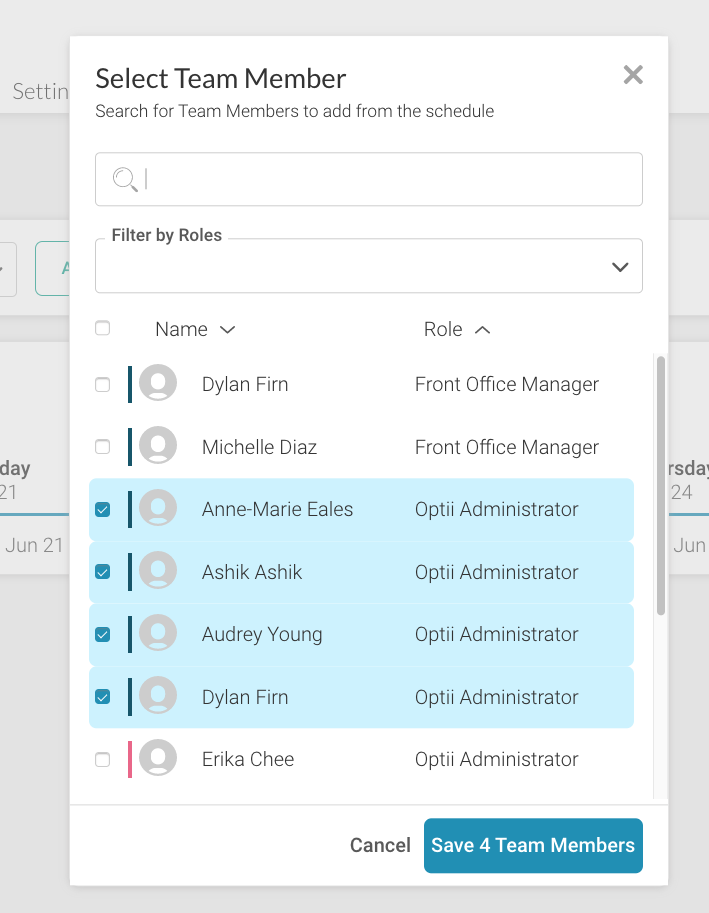
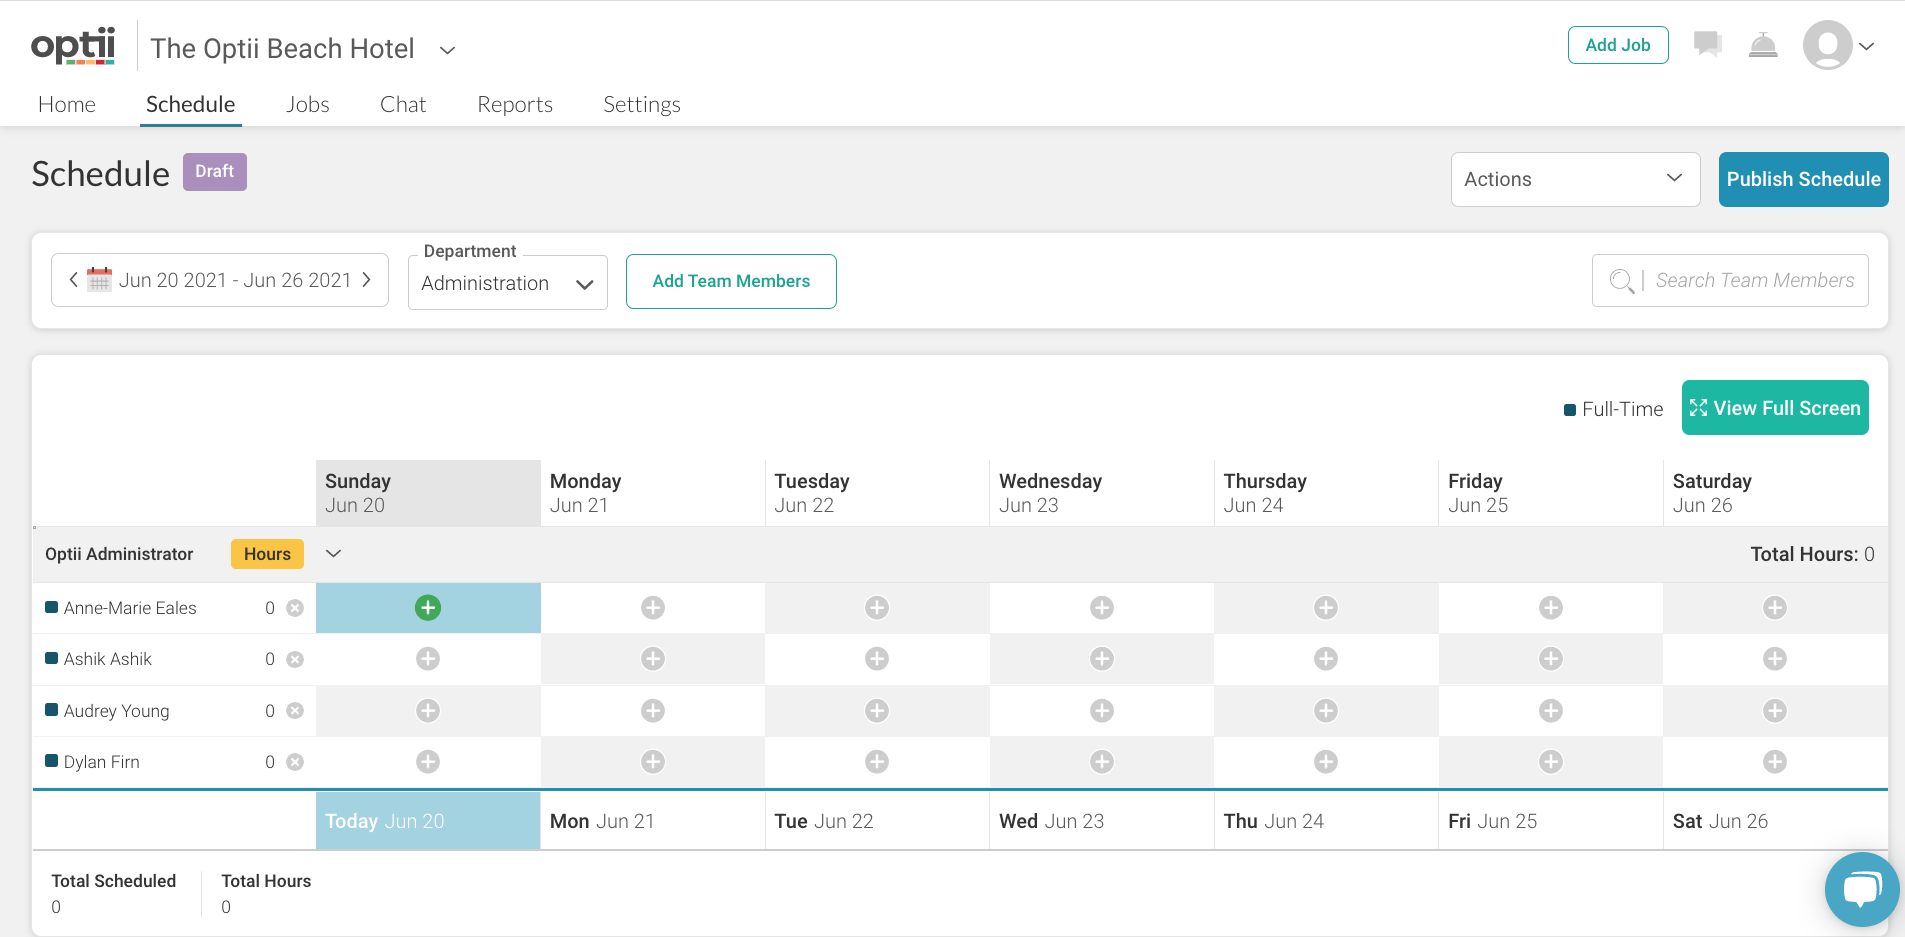
- Click on the box to the left of the Team Member's name and click on the blue 'Save Team Members' box at the bottom of the screen to create a schedule template for these Team Members.
- The schedule template will open up to allow you to add shifts and hours to the schedule.
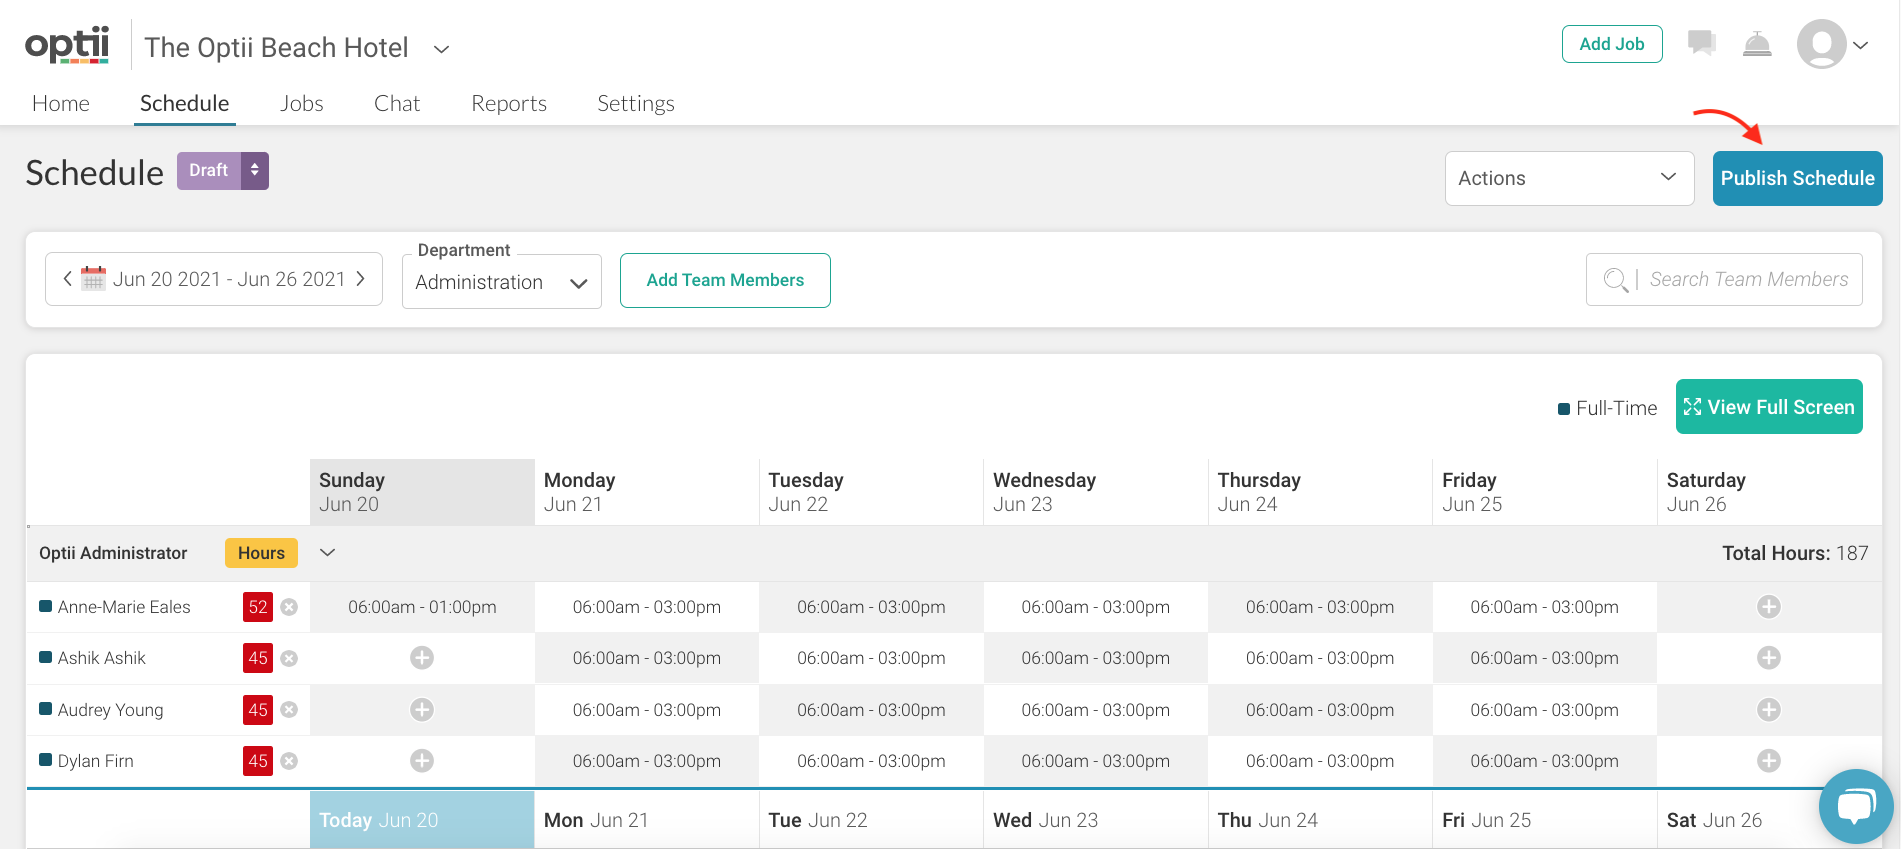
- Once you have confirmed that all Team Members have been scheduled, you may Print or Publish the Schedule.
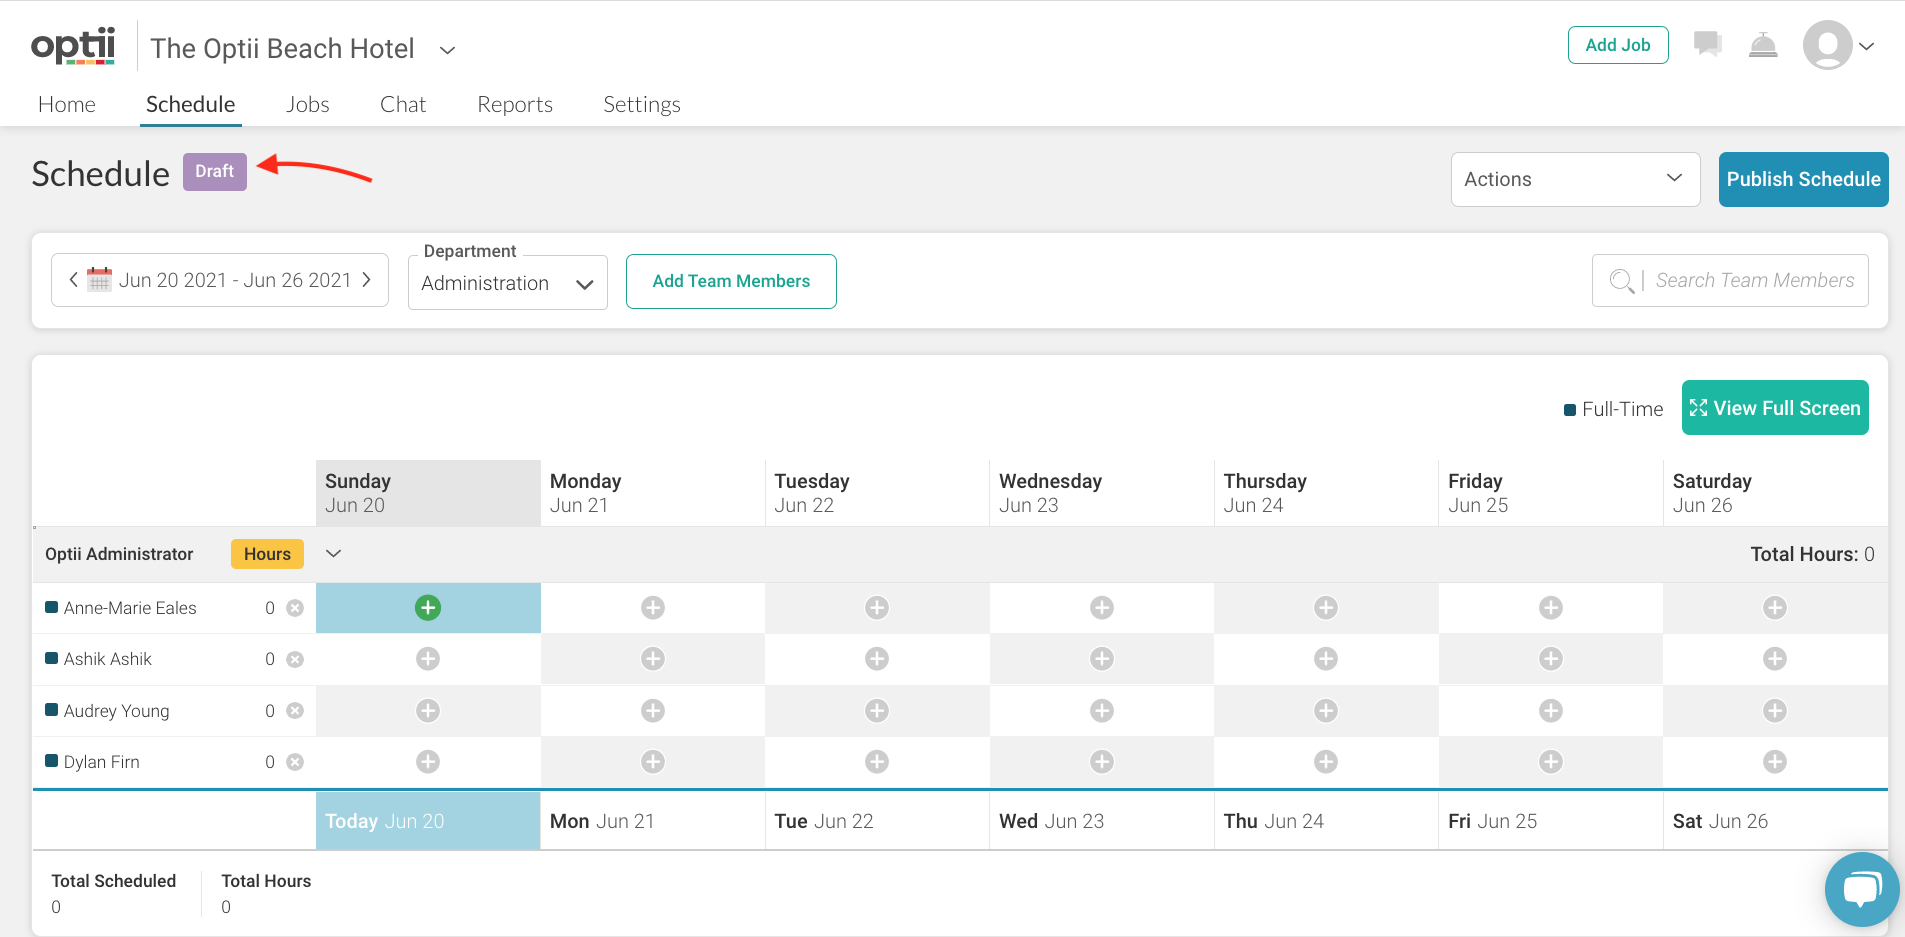
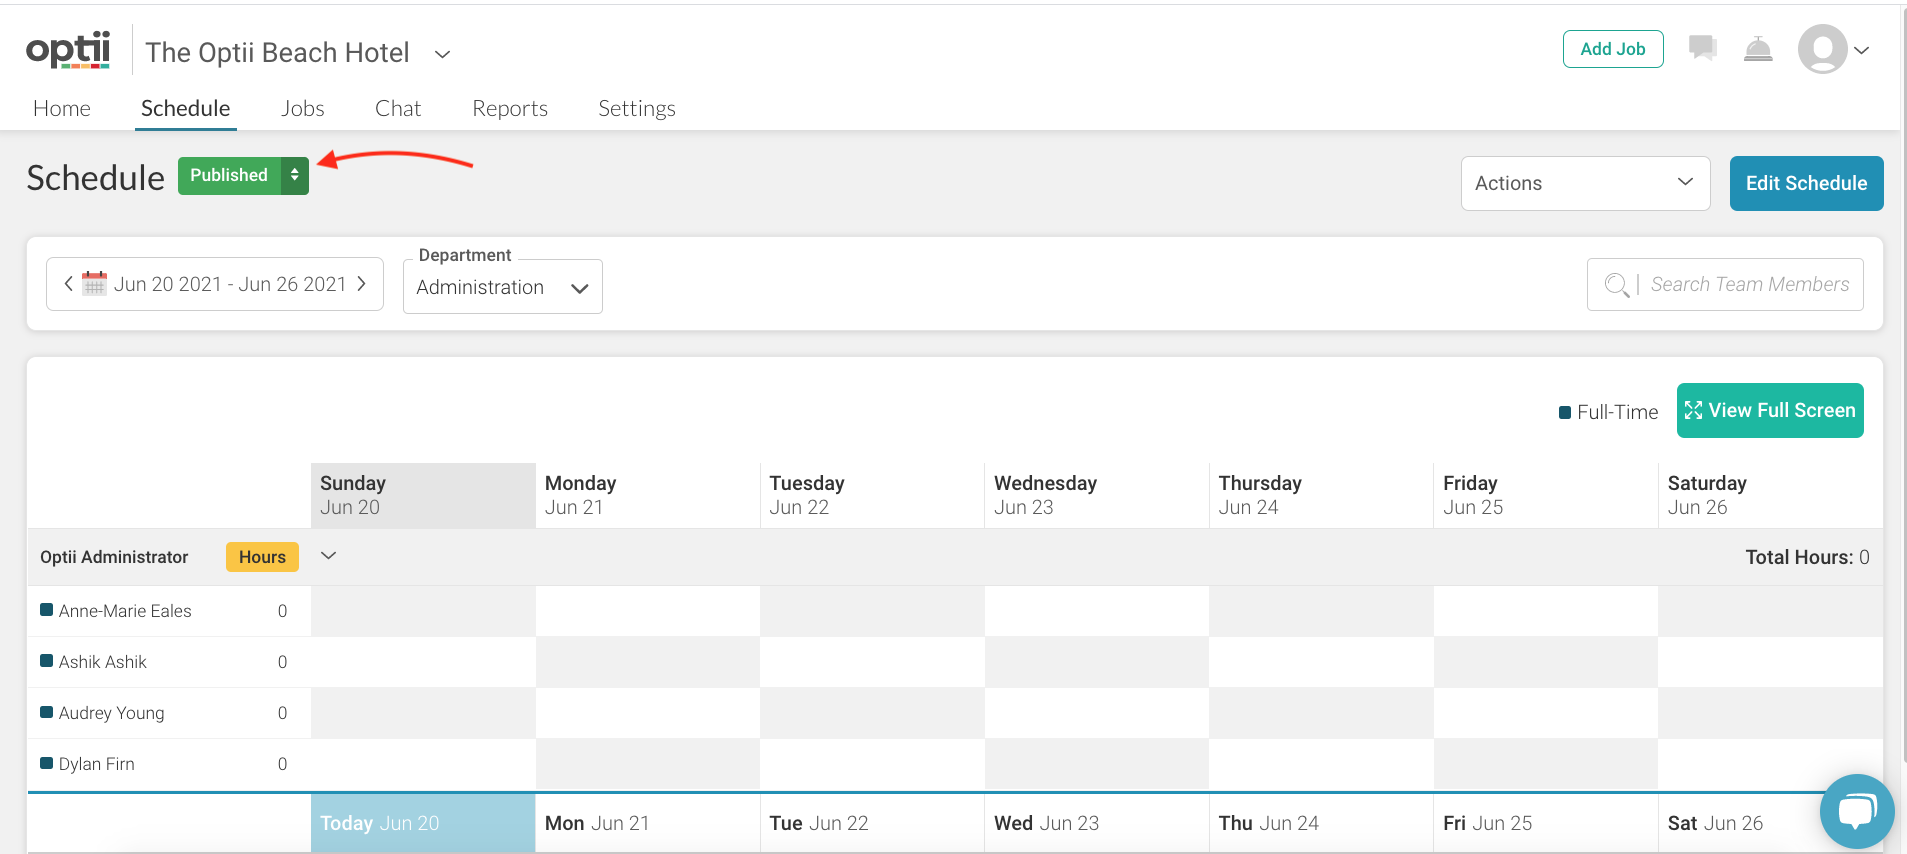
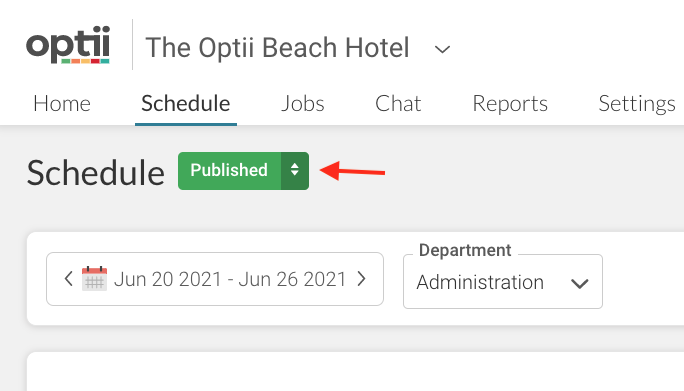
The initial version of the schedule will be a 'Draft' as shown by the purple label at the top of your screen. Once you have published the schedule, this label will be Green and read 'Published' (You'll be able to toggle between views in case you need to make edits, more about that later on)
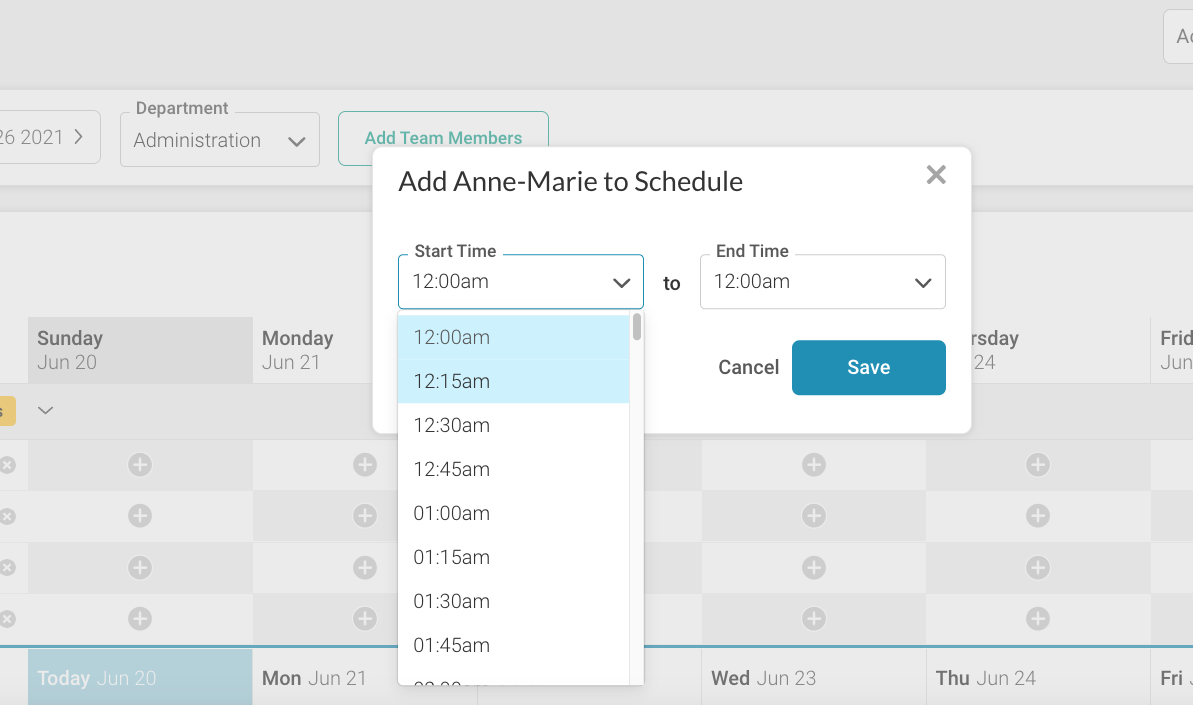
To add daily shifts, click on the grey circle with a plus sign; this will open a new pop up box to allow you to choose the shift start and end time, as shown in 15-minute increments. Select the desired start and end time and click the blue 'Save' button
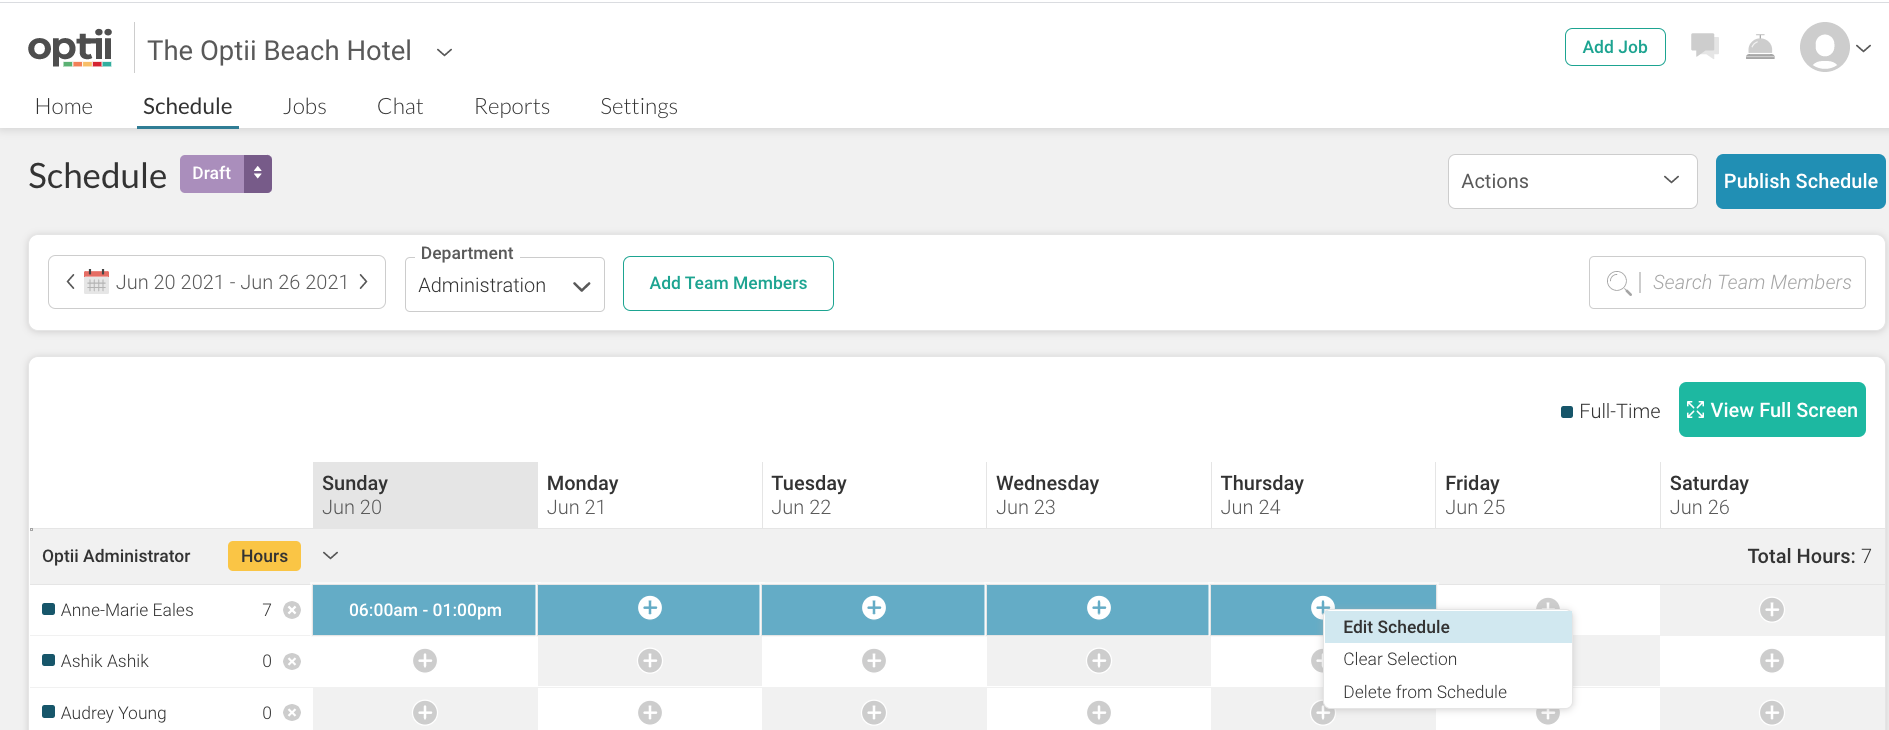
You also have the option of adding shifts to multiple days at the same time using multi-select:
- Highlight the days that the Team Member is scheduled to work, right-click and click on 'Add Schedule' and select the start and end times of the shift, followed by clicking the blue 'Save' button.
- You can use this option for multiple Team Members when scheduling and editing or changing a schedule after the creation.
Once you have added the shifts to each Team Member, you will notice that their hours have been updated to reflect the total hours scheduled for the individual - noted next to their name.
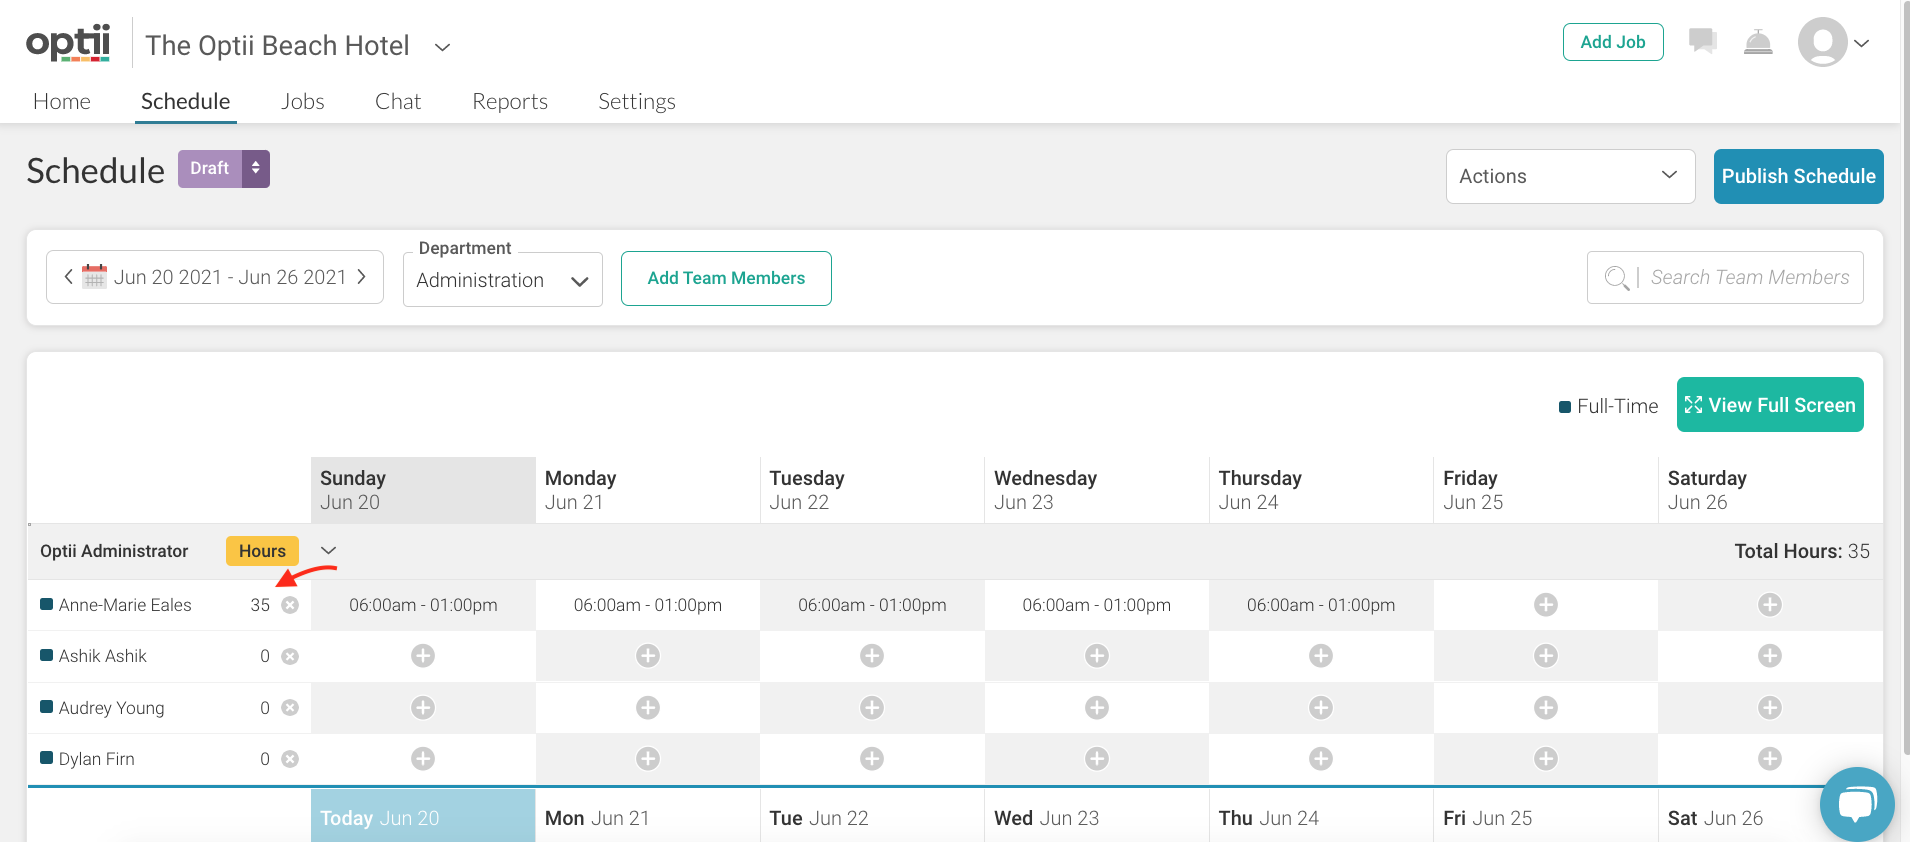
🔎: The Hours button is highlighted in Yellow. If the Team Member is scheduled for more than their regular working hours or overtime, the button will appear in
Red to get your attention.
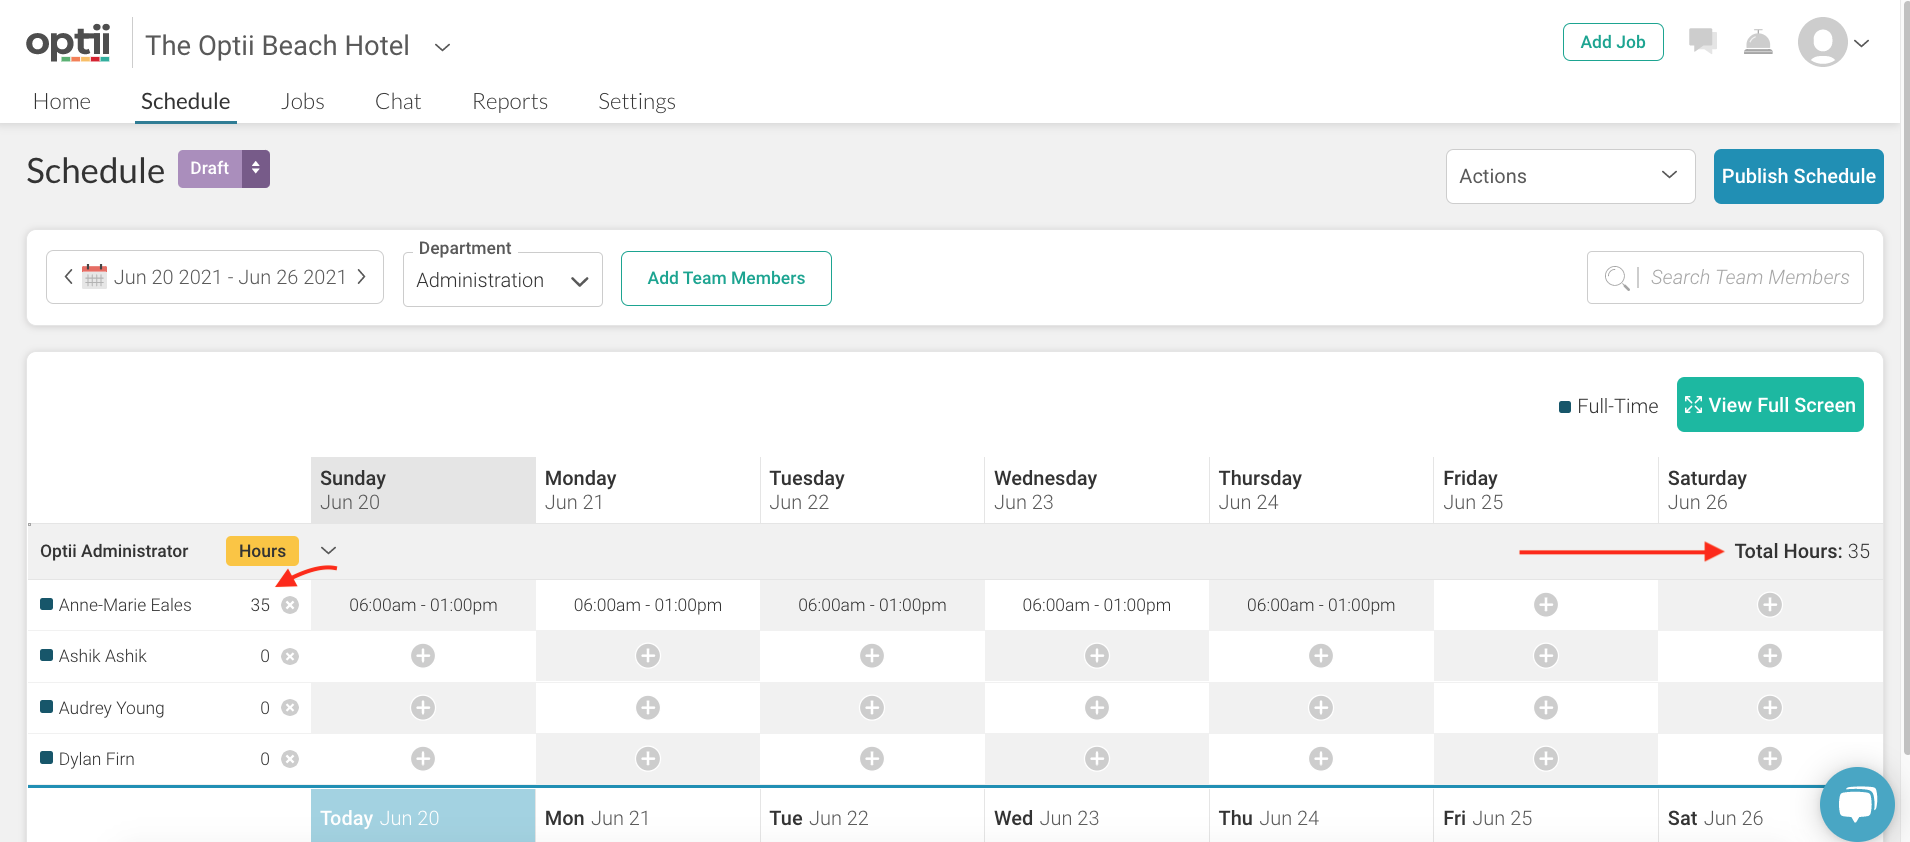
🔎 Total Hours' will also be listed on the right side of the schedule to indicate the number of hours scheduled for the particular role.
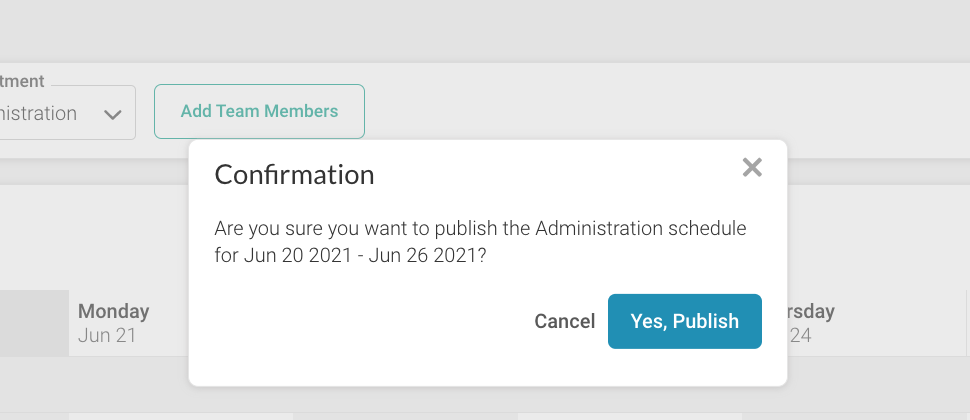
You'll receive a pop-up notification at the bottom of your screen to confirm the schedule was published.

The schedule has been published
📳 Once the Schedule has been published, all Team Members who have mobile numbers saved in their user profiles will receive a text message alerting them that they have been scheduled and
include a link to view the schedule
Important! Once published, any changes made to the schedule will result in Team Members receiving text alert updates if their schedule is modified.
Bonus Tips!
You can add Team Members to the schedule using this button in the 'Draft View' (Toggle between Published and Draft using the up and down arrows)
Copy your Schedule
Save time creating your new weekly schedule by copying your previous week's schedule using the 'Copy' function in the Actions dropdown menu.
- Clicking on the blue 'Yes, Copy' button will automatically copy your published schedule as a draft version for the following week.

Great work you've scheduled for your first roster with Optii Service; repeat this process every time you need to schedule a new roster in Optii.
To learn more about the schedule, contact your success manager at help@optii.com. We're available 24/7 and happy to help!