Optii Checklist & Repeating Jobs
How to add checklists and use them for operational tasks
A checklist can be created through the settings tab and selecting the 'Checklist' tab on the bottom right of your screen.
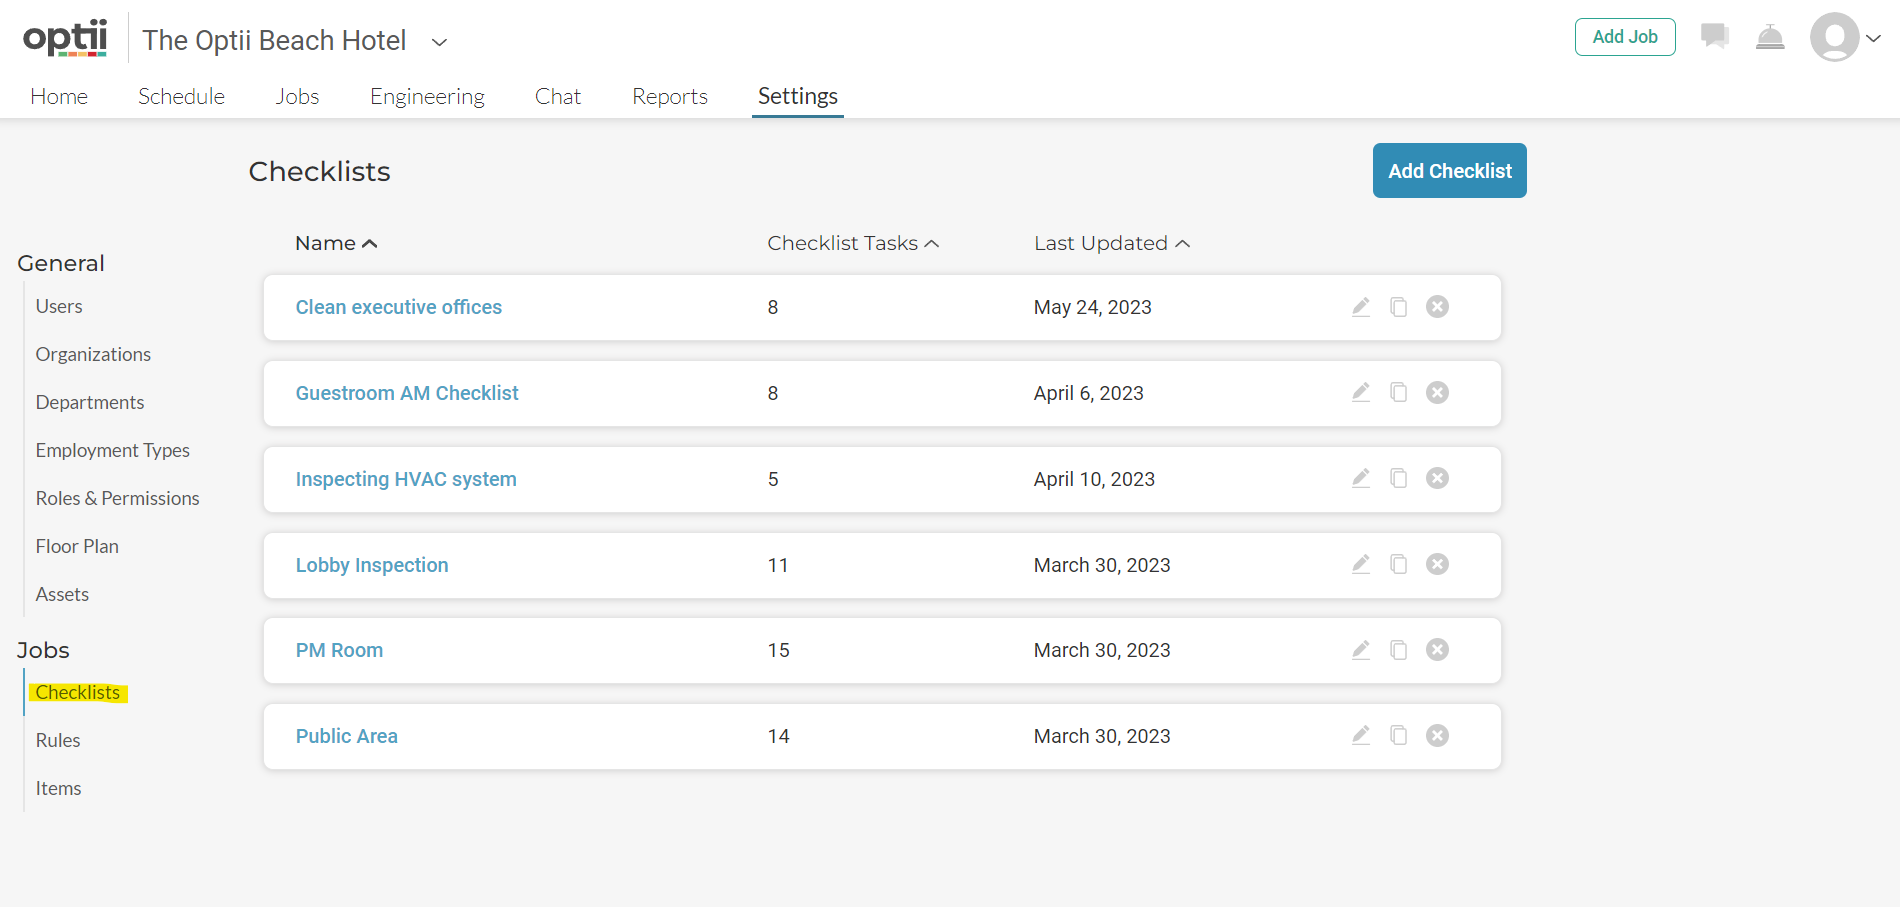
Once you are able to see all available checklists, you will be able to edit the existing ones or navigate to 'Create a checklist' in case you need to create a new one. Checklists can be tailored to projects such as Engineering PM's or daily tasks such as 'Cleaning Executive Offices'
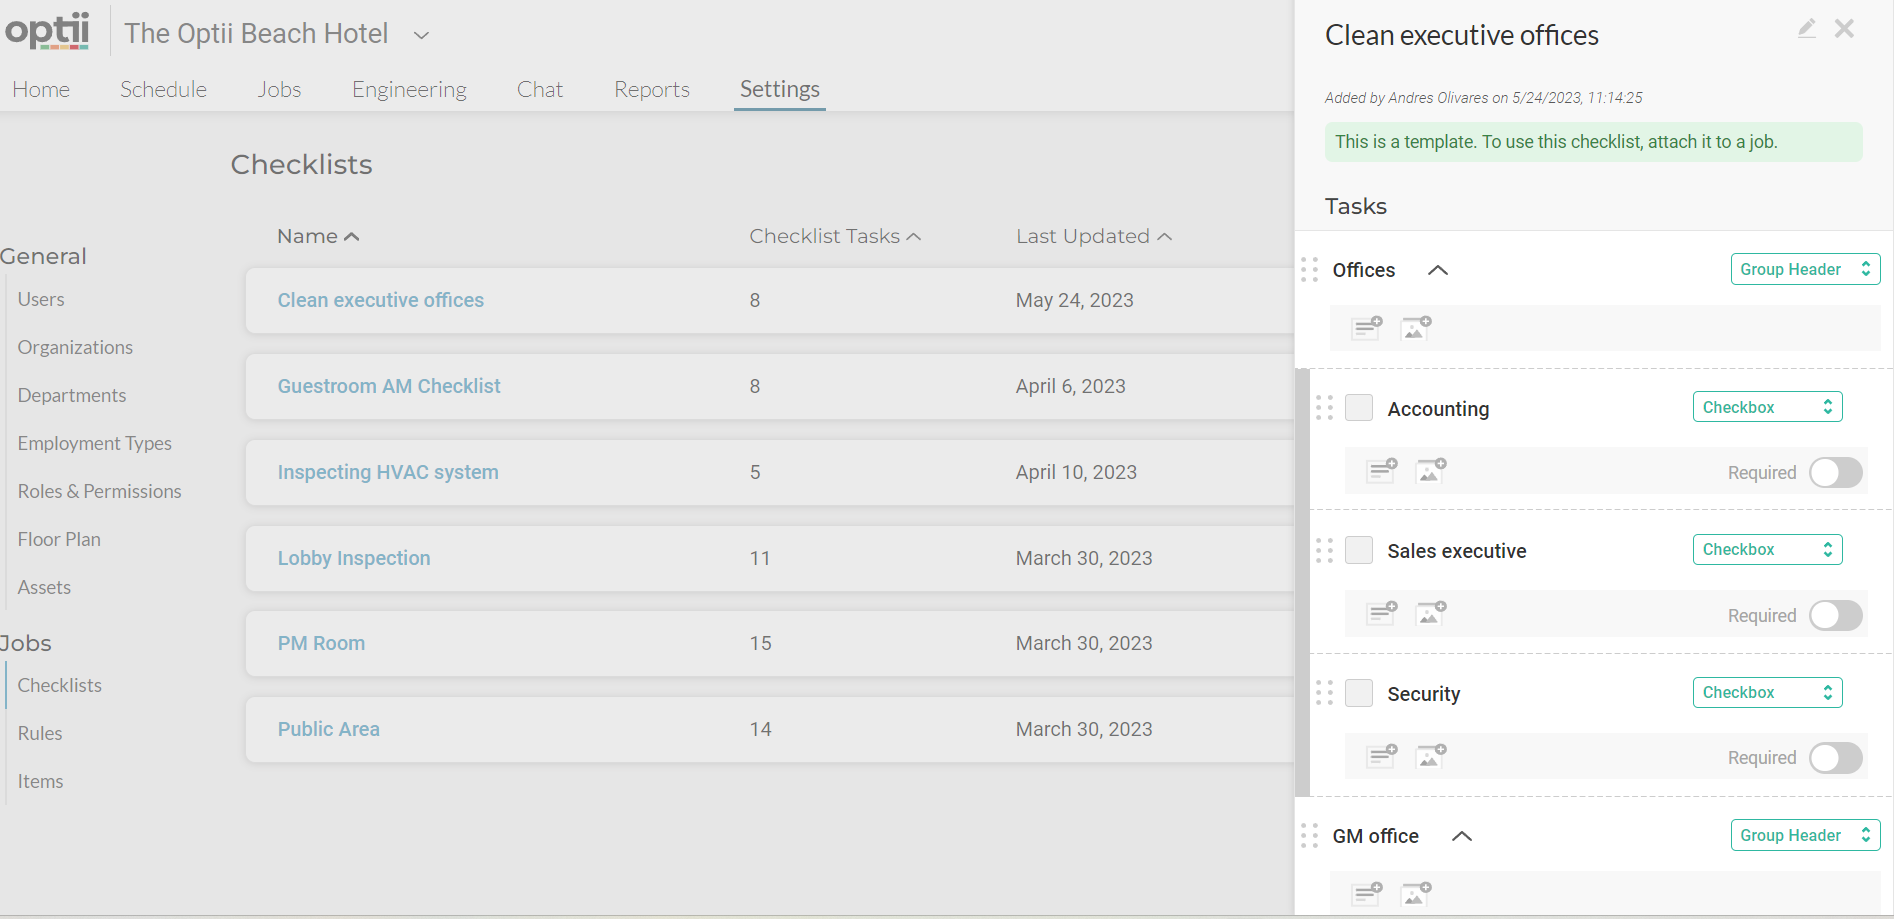
Tip: You can add both pictures and notes to any of the task for a visual explanation of what is needed from your team.
Once a Checklist has been created, they can now be used to schedule your day-to-day activities, ensuring your team is actioning these tasks without the need of messages or the use of a radio.
You will have the liberty to chose a job frequency on a daily (or multiple times daily), weekly, monthly or yearly. You can also adjust a task to be done at a particular time of day to ensure standards are being met.
Once you navigate to the 'Job' tab located in the top left of the screen, you will immediately be able to see the 'Add Job' tab in the top right of the screen.
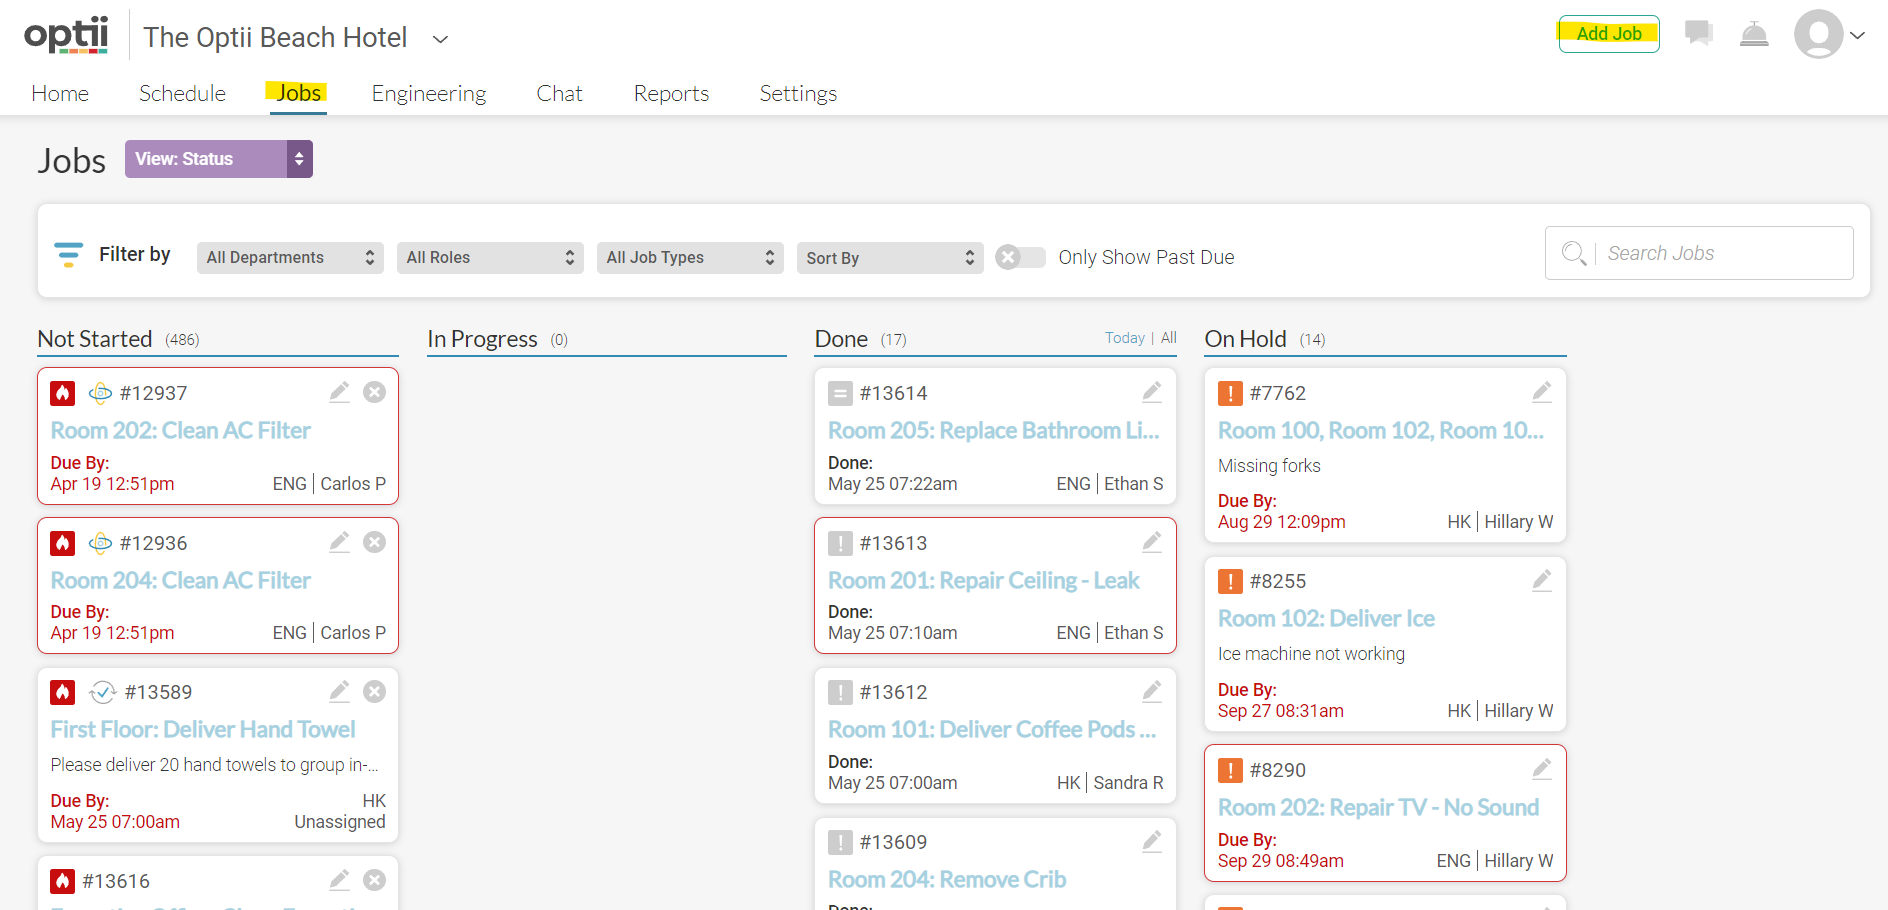
Once you click on 'Add Job' it will give you the options for the type of job you are looking to create, whether that is an internal job or a guest request, a delivery request or a clean/inspect task. You will also be able to manage the frequency of such task - Will this be a one time delivery or is this activity something that is going to be done multiple times a day/week, or even at a particular time.
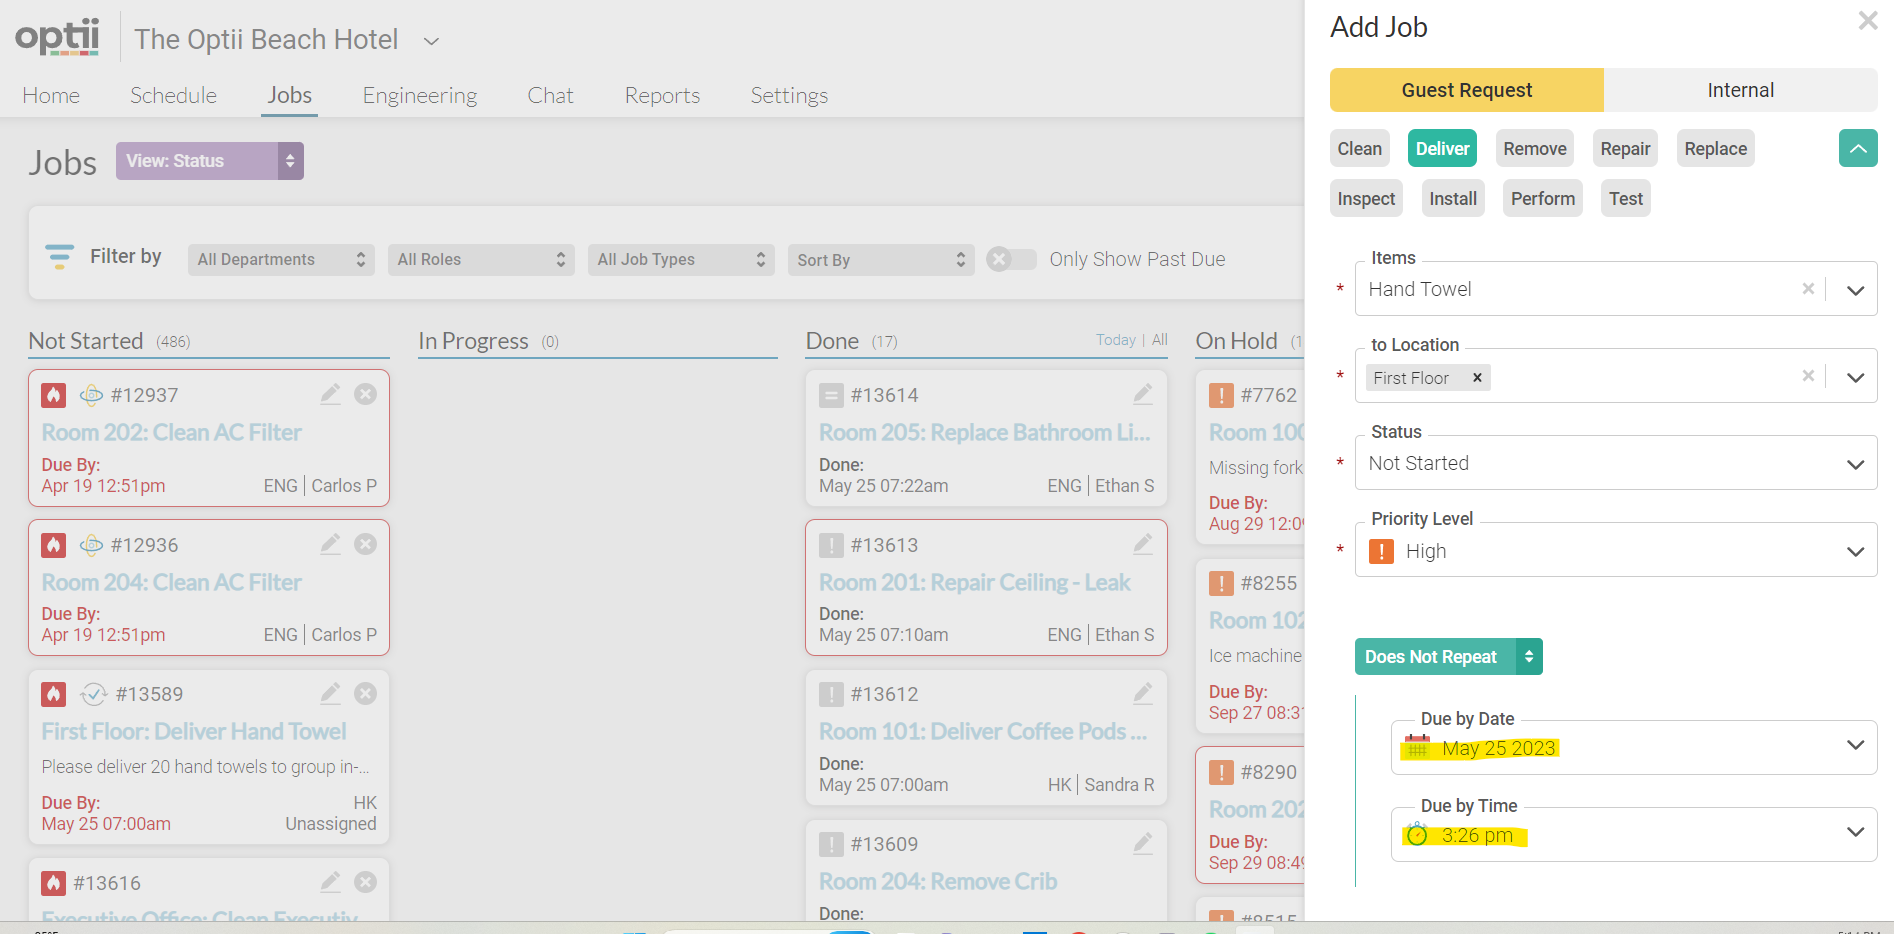
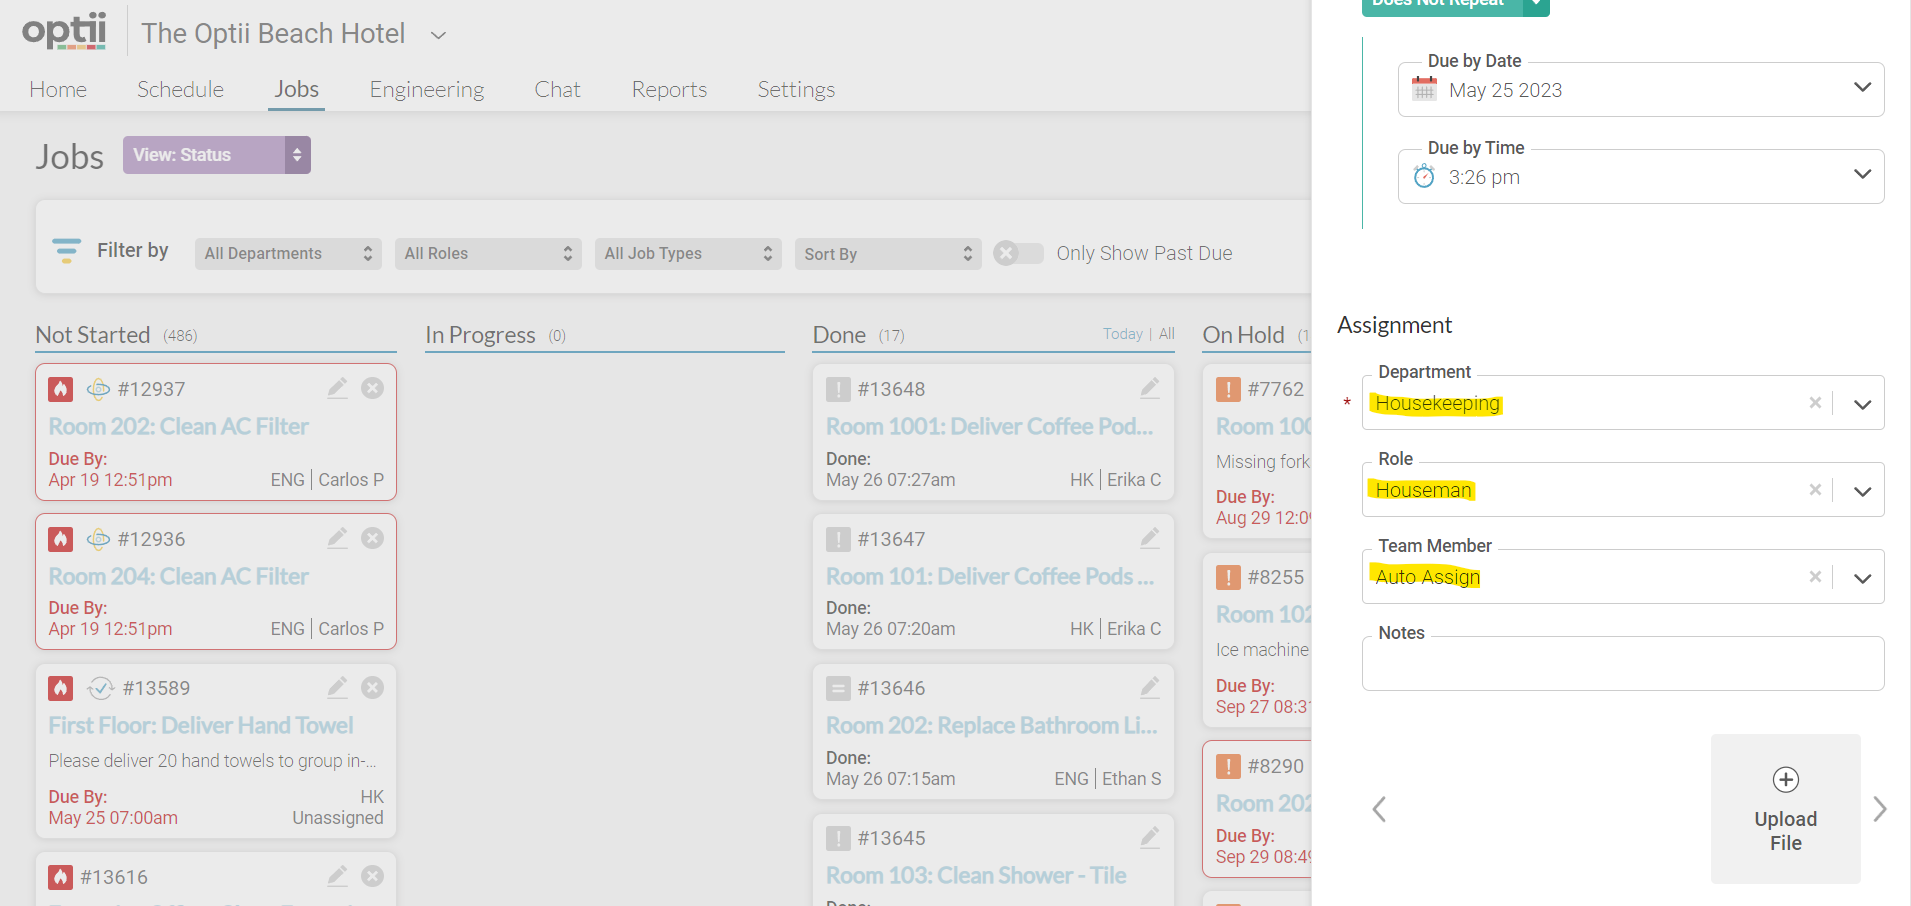
Once job frequency and type of job has been decided you can go ahead and assign the job to the pertaining department/associate.
Tip: Leaving the 'Auto-Assign' option ON will inform Optii to send this request to an available associate in the department responsible, based on your schedule.
