Learn how to create your Roster using the Optii Hub
Rostering your team in Optii and completing your room allocations will be done via The Hub as part of your daily operations checklist.
Note: This function is dependent upon the accurate configuration of the 'Users' and their 'Roles', the 'Working Arrangements' and the 'Rooms' and 'Zones' of the property. This information will be configured prior to your property's training sessions.
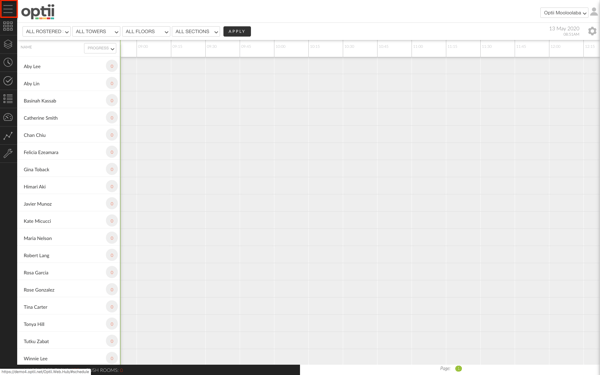
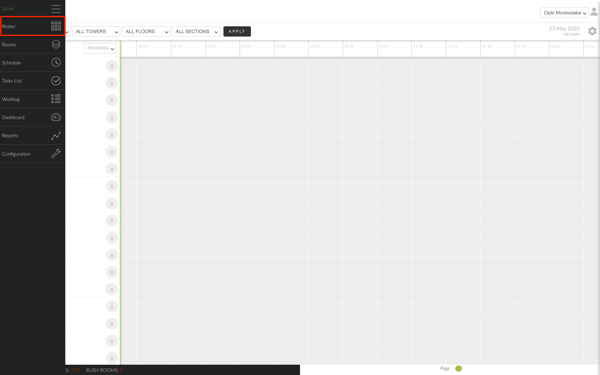
Step 1: We click on the 'Menu' icon and expand the black column to show us the headings and then we click on the 'Roster' function.
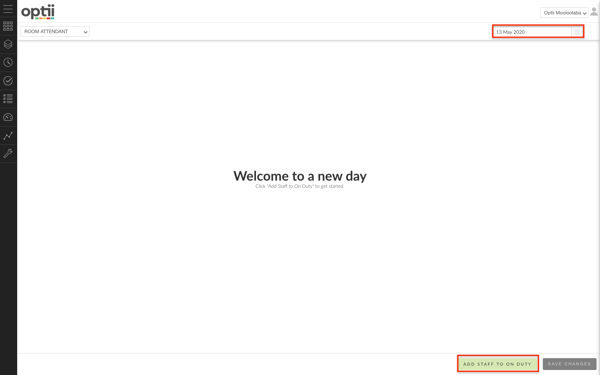
Step 2: The screen says ‘Welcome to a new day'.
- Click ‘Add Staff to On Duty’ and get started.
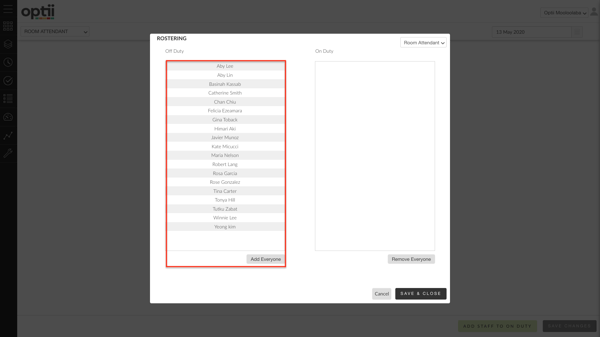
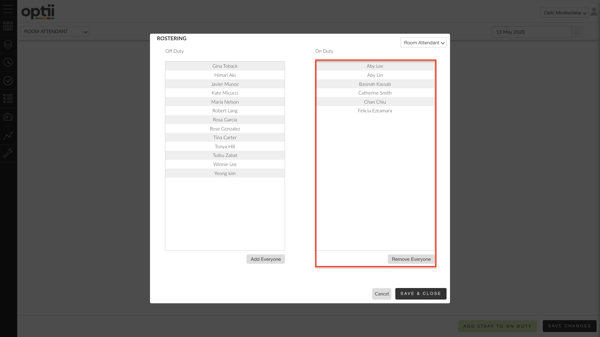
Step 3: After you click on 'ADD STAFF TO ON DUTY', you'll see that a small window pops up displaying the list of Room Attendants who are 'Off Duty' and 'On Duty'.
- From the 'Off Duty' List simply click on their names and they will automatically move to the 'On Duty' List. As you can see, their names disappear from the 'Off Duty' list.
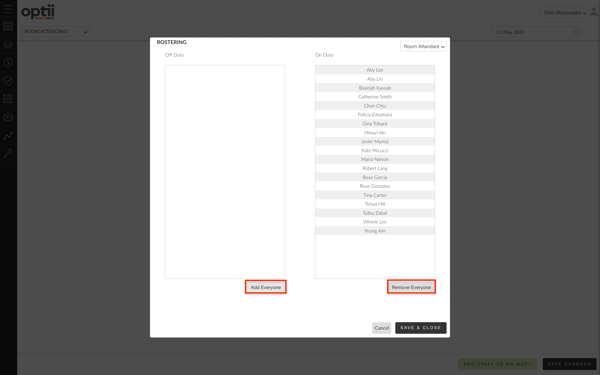
Note: You also have the option to make bulk changes by selecting 'Remove Everyone', or 'Add Everyone', as demand requires.
Step 4: Assign or adjust assigned Floors & Sections.
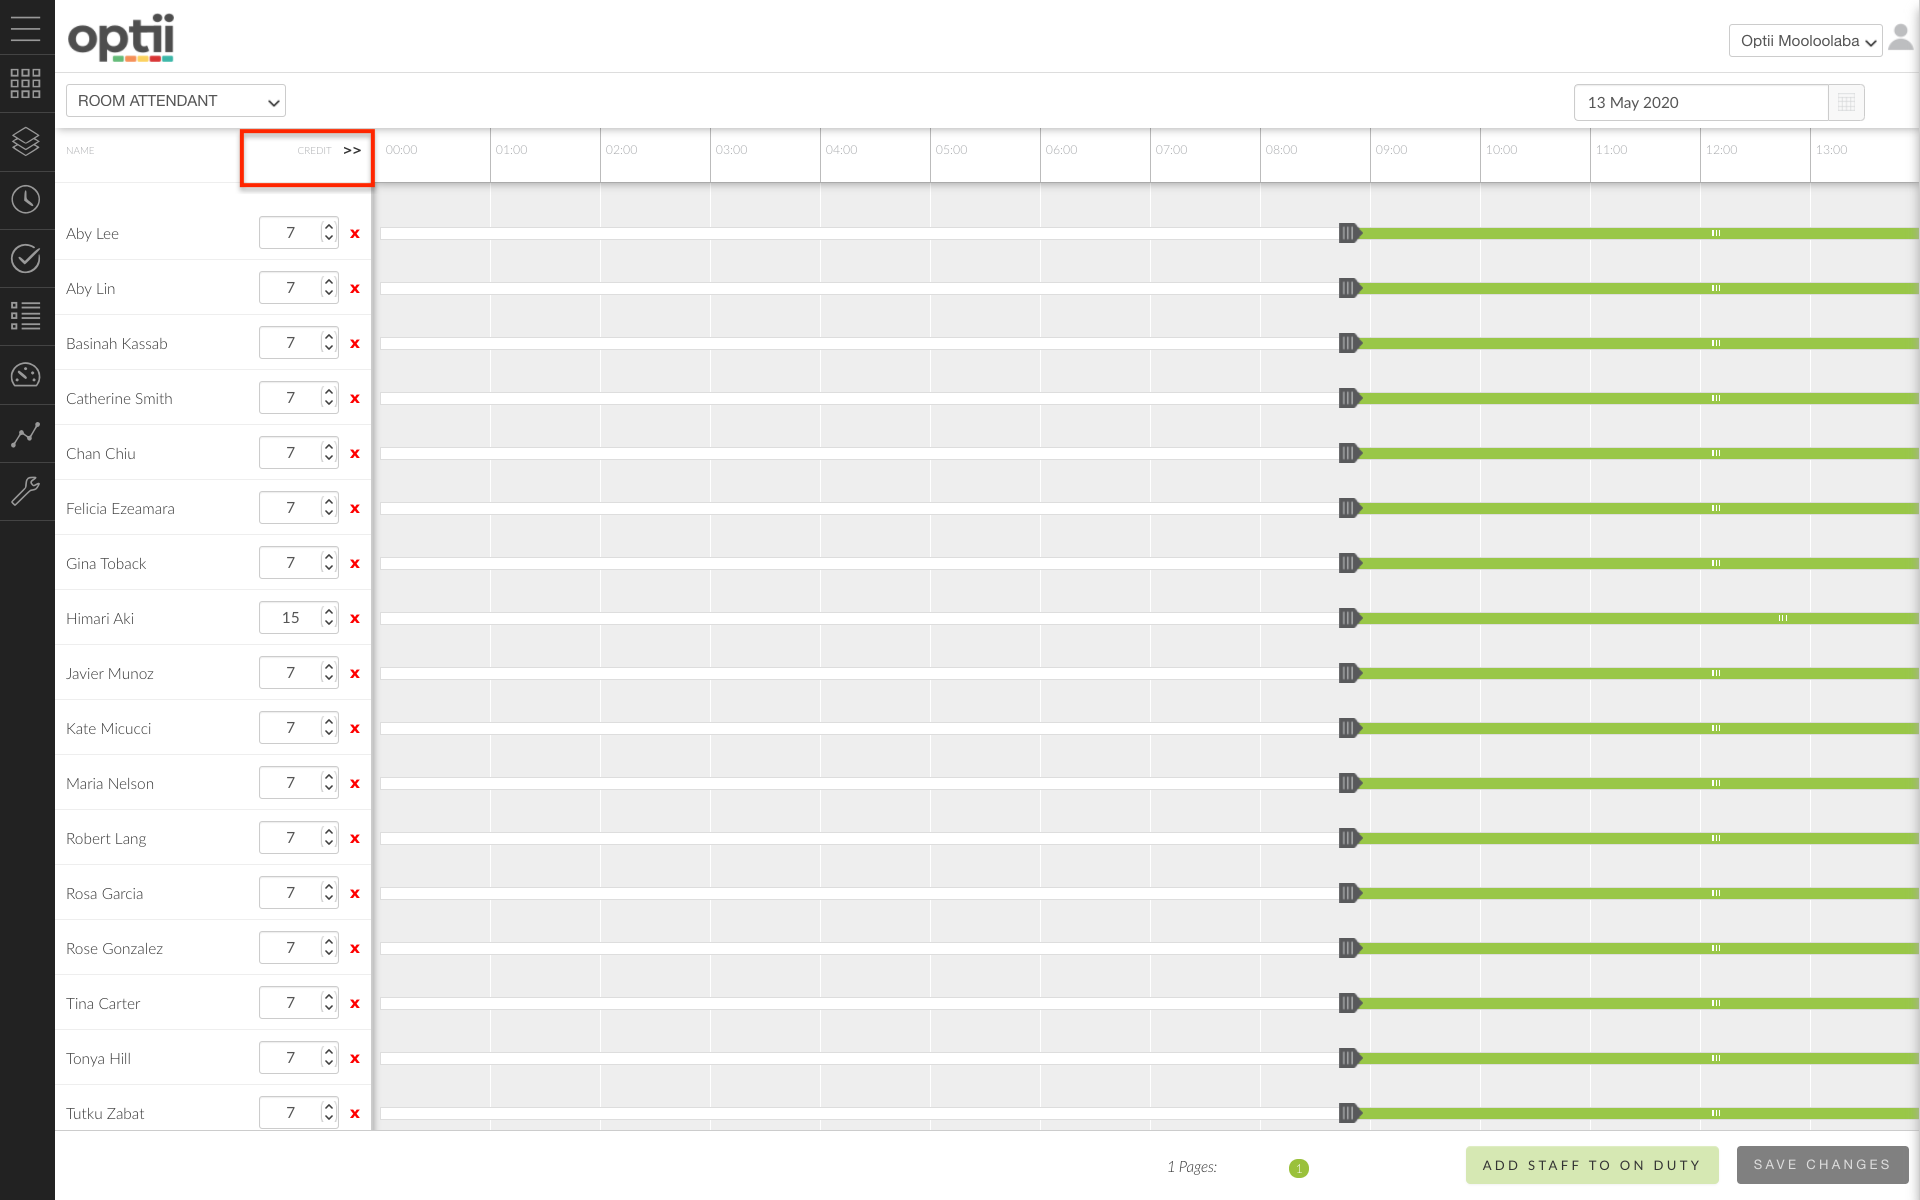
- Click the two arrows pointing to the right, which expands the section to show the Floor fields.
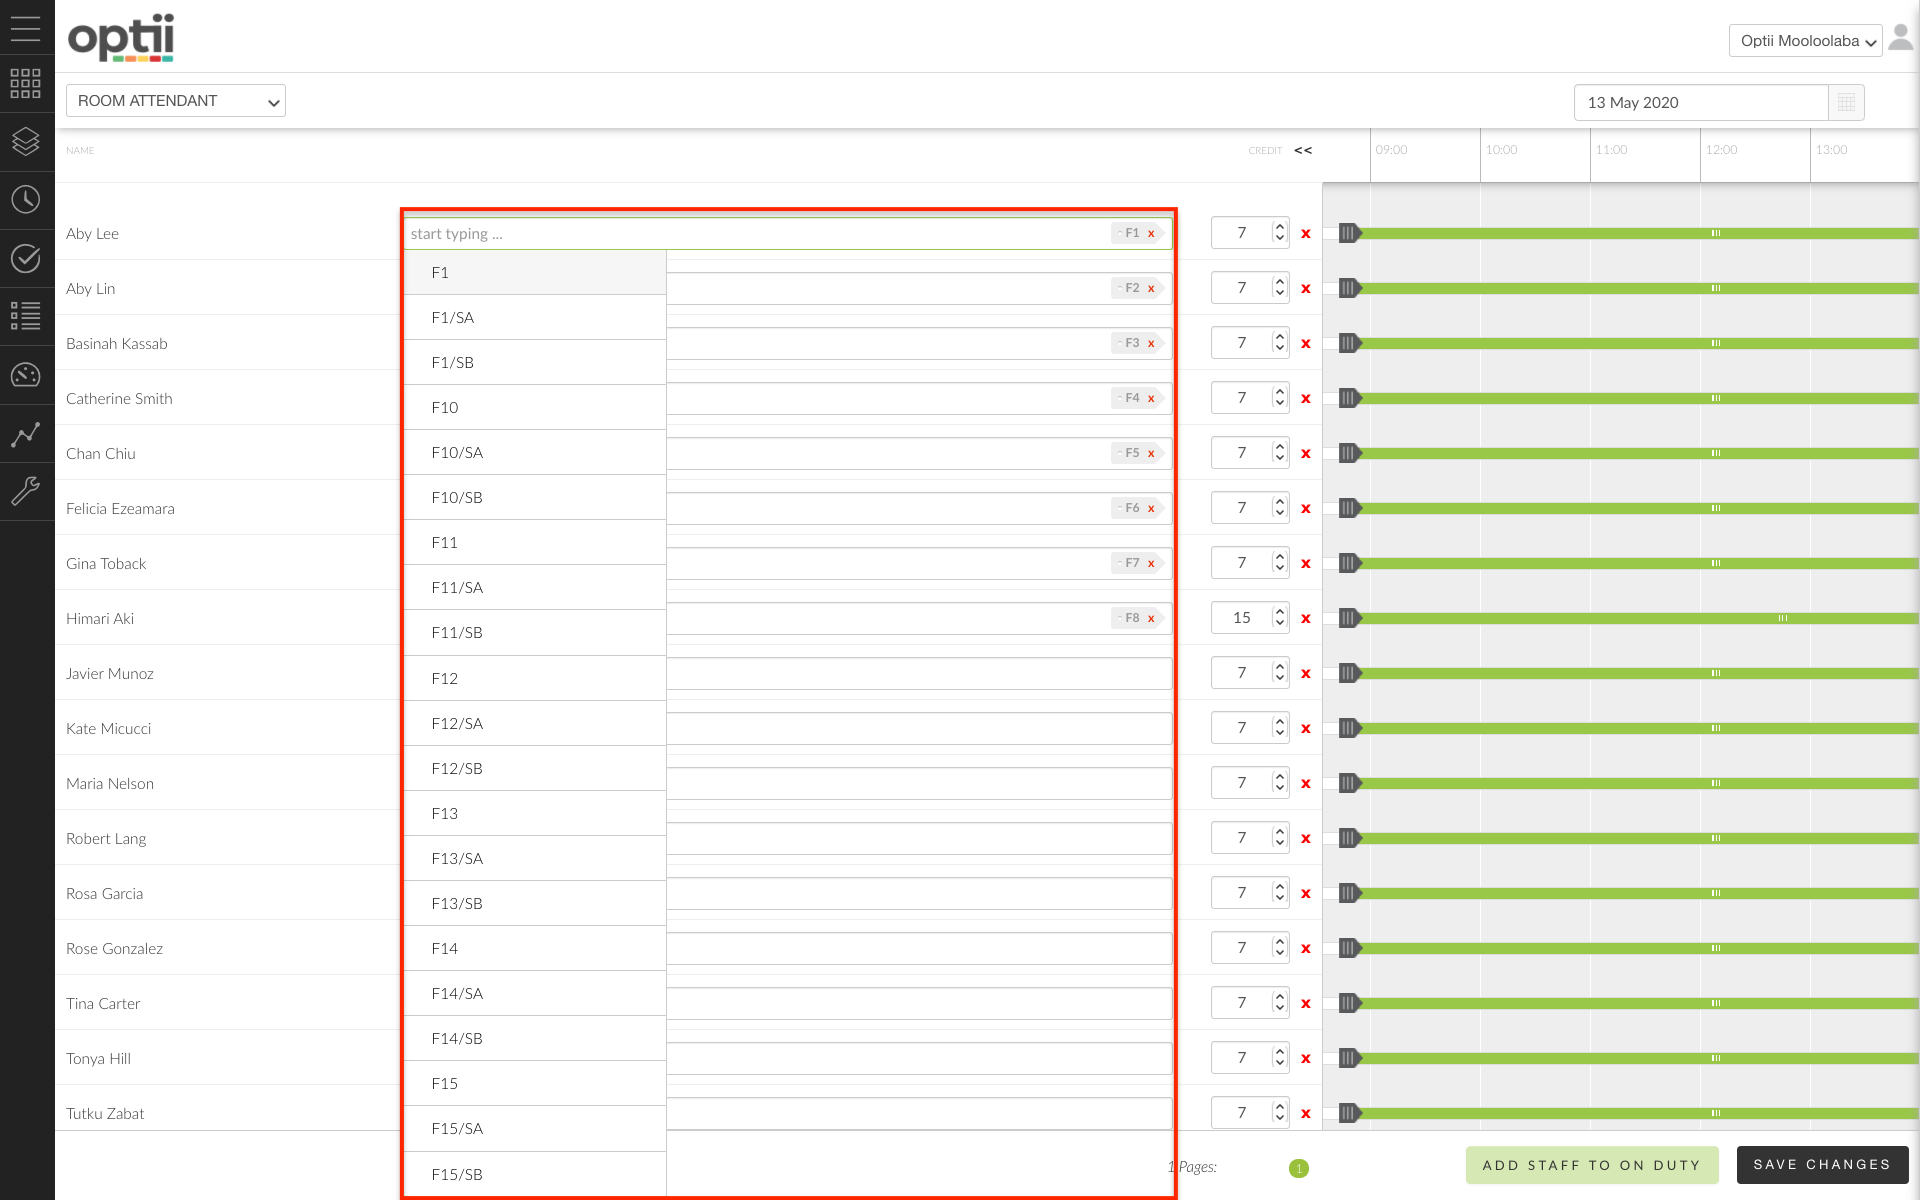
- Click in the field in which it says ‘start typing’ and type ‘F’ (for ‘floor’) -- then a dropdown list is displayed, from which we can choose the appropriate floor number or floor zone.
- Click on the floor or zone, then click out of the field, the assignment will be shown with a grey label and you can Save Changes, using the button below.
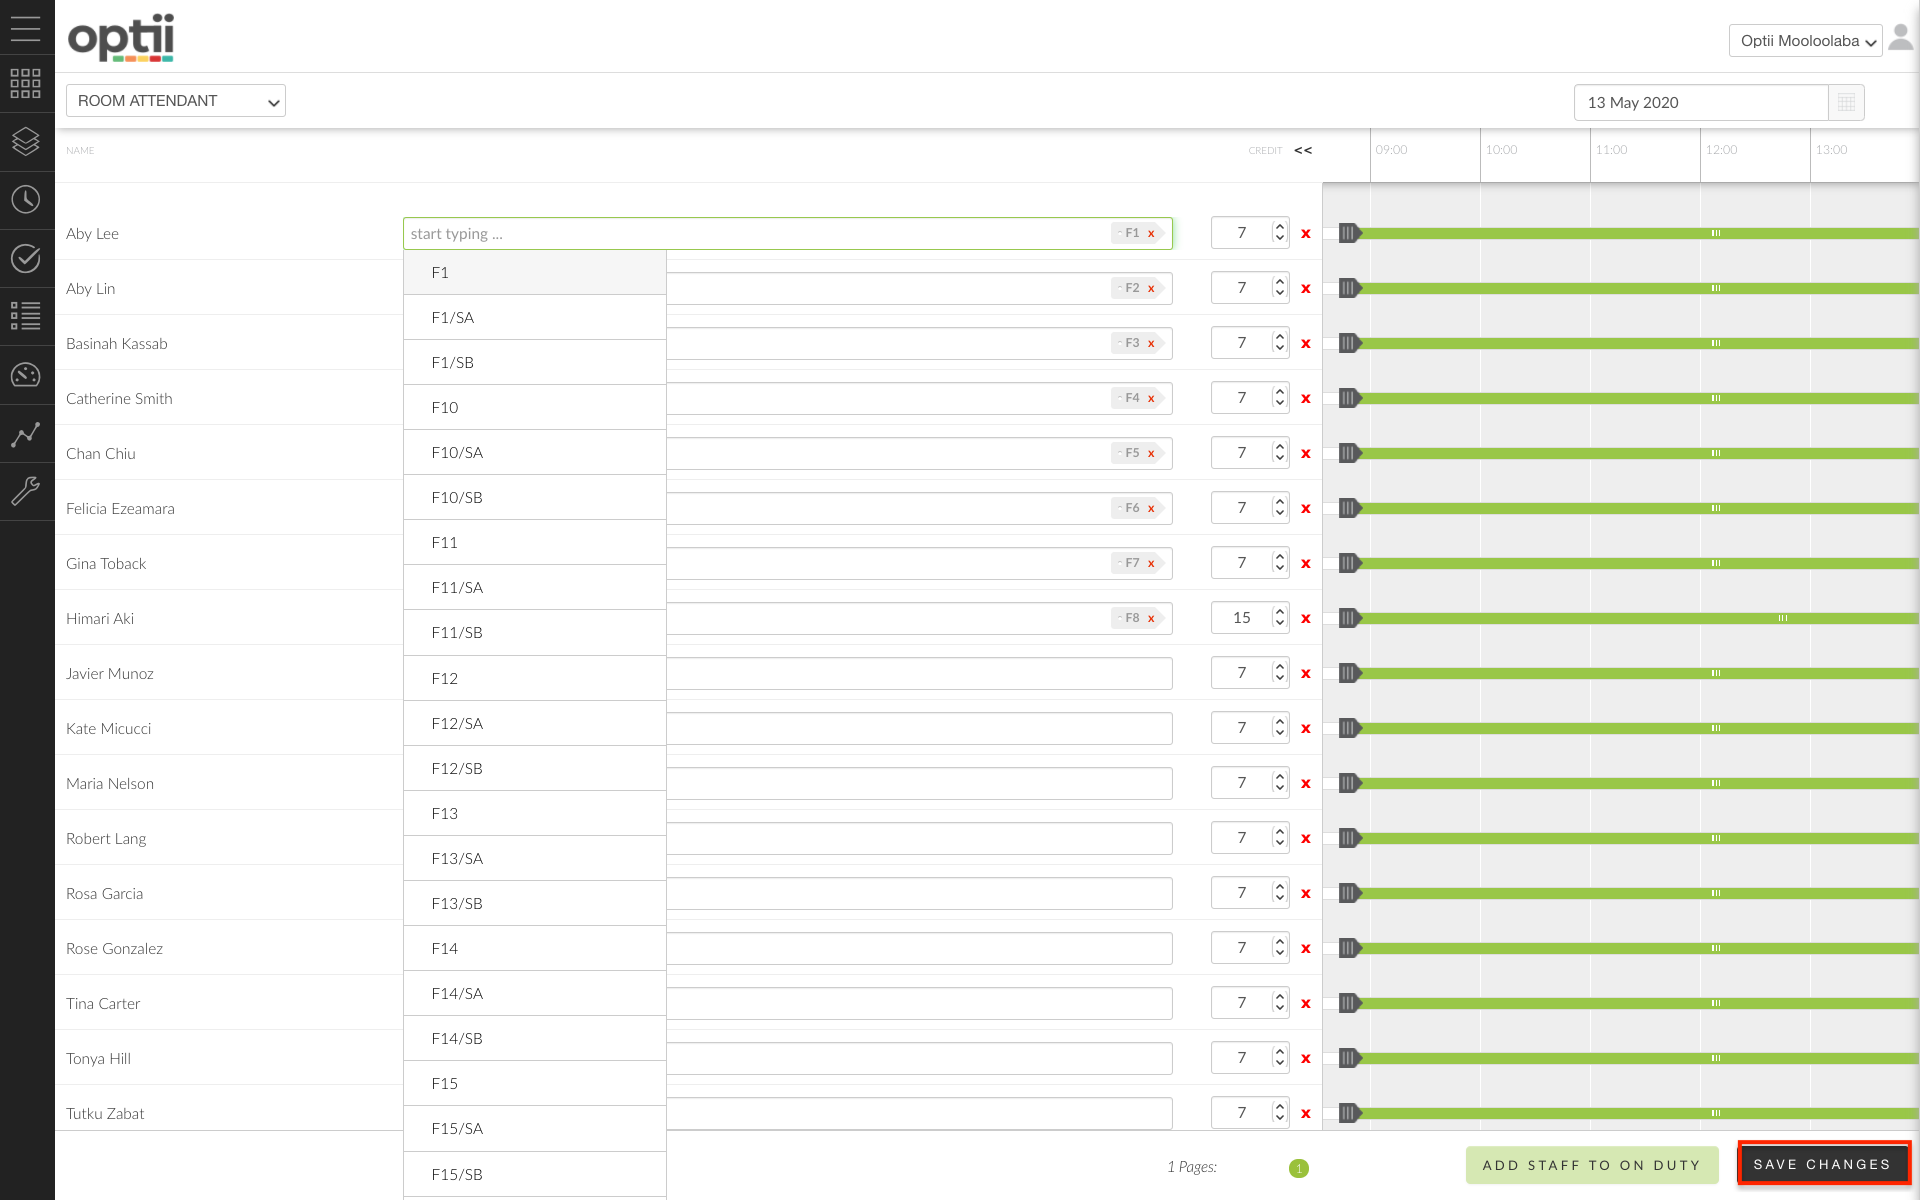
Important Note: When you are satisfied with the floor assignments, press 'SAVE CHANGES'.
Repeat this process to roster your Inspectors & Supervisors in Optii -- place the scheduled team members 'On Duty' and assign their floors or sections.
-3.png?height=120&name=Optii%20Logo%203x%20(2)-3.png)